How to create good looking App Store screenshots
This is my guide on how I, step by step, create good looking screens to put on App Store for a great conversion rate. The guide will help you create the sequence of images at the top of this post, you can follow along and learn how to do it to tweak it to your liking.
The tools I will be using are:
- Photoshop
- Figma
- XCode Simulator
- mockuuups.studio
Step 1: Gather your screenshots
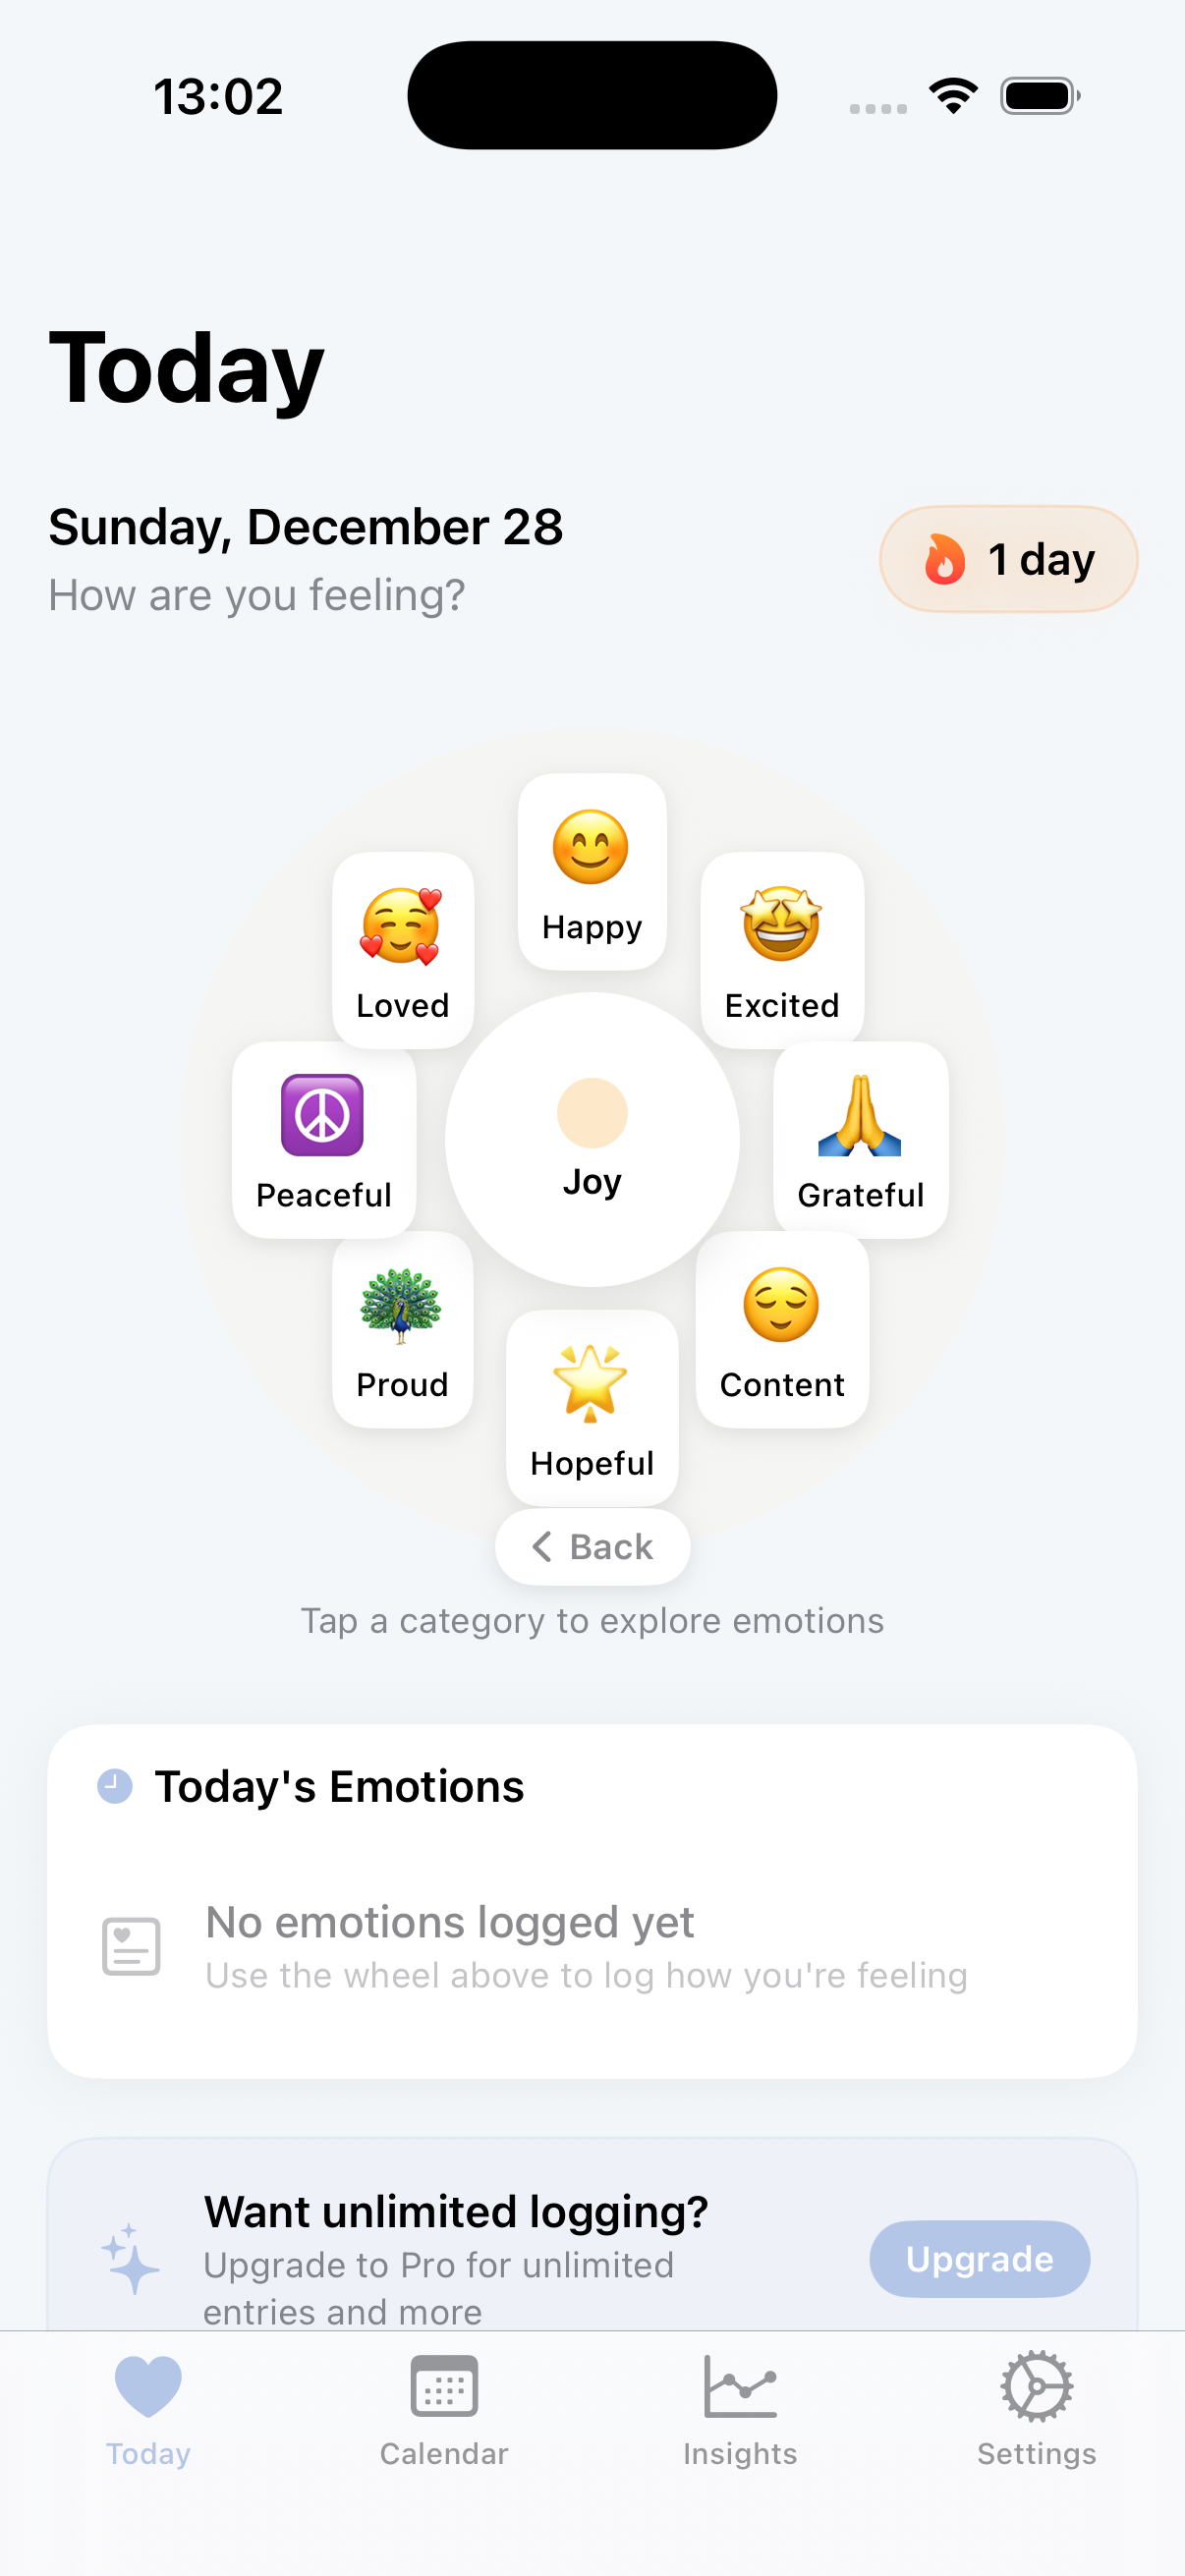
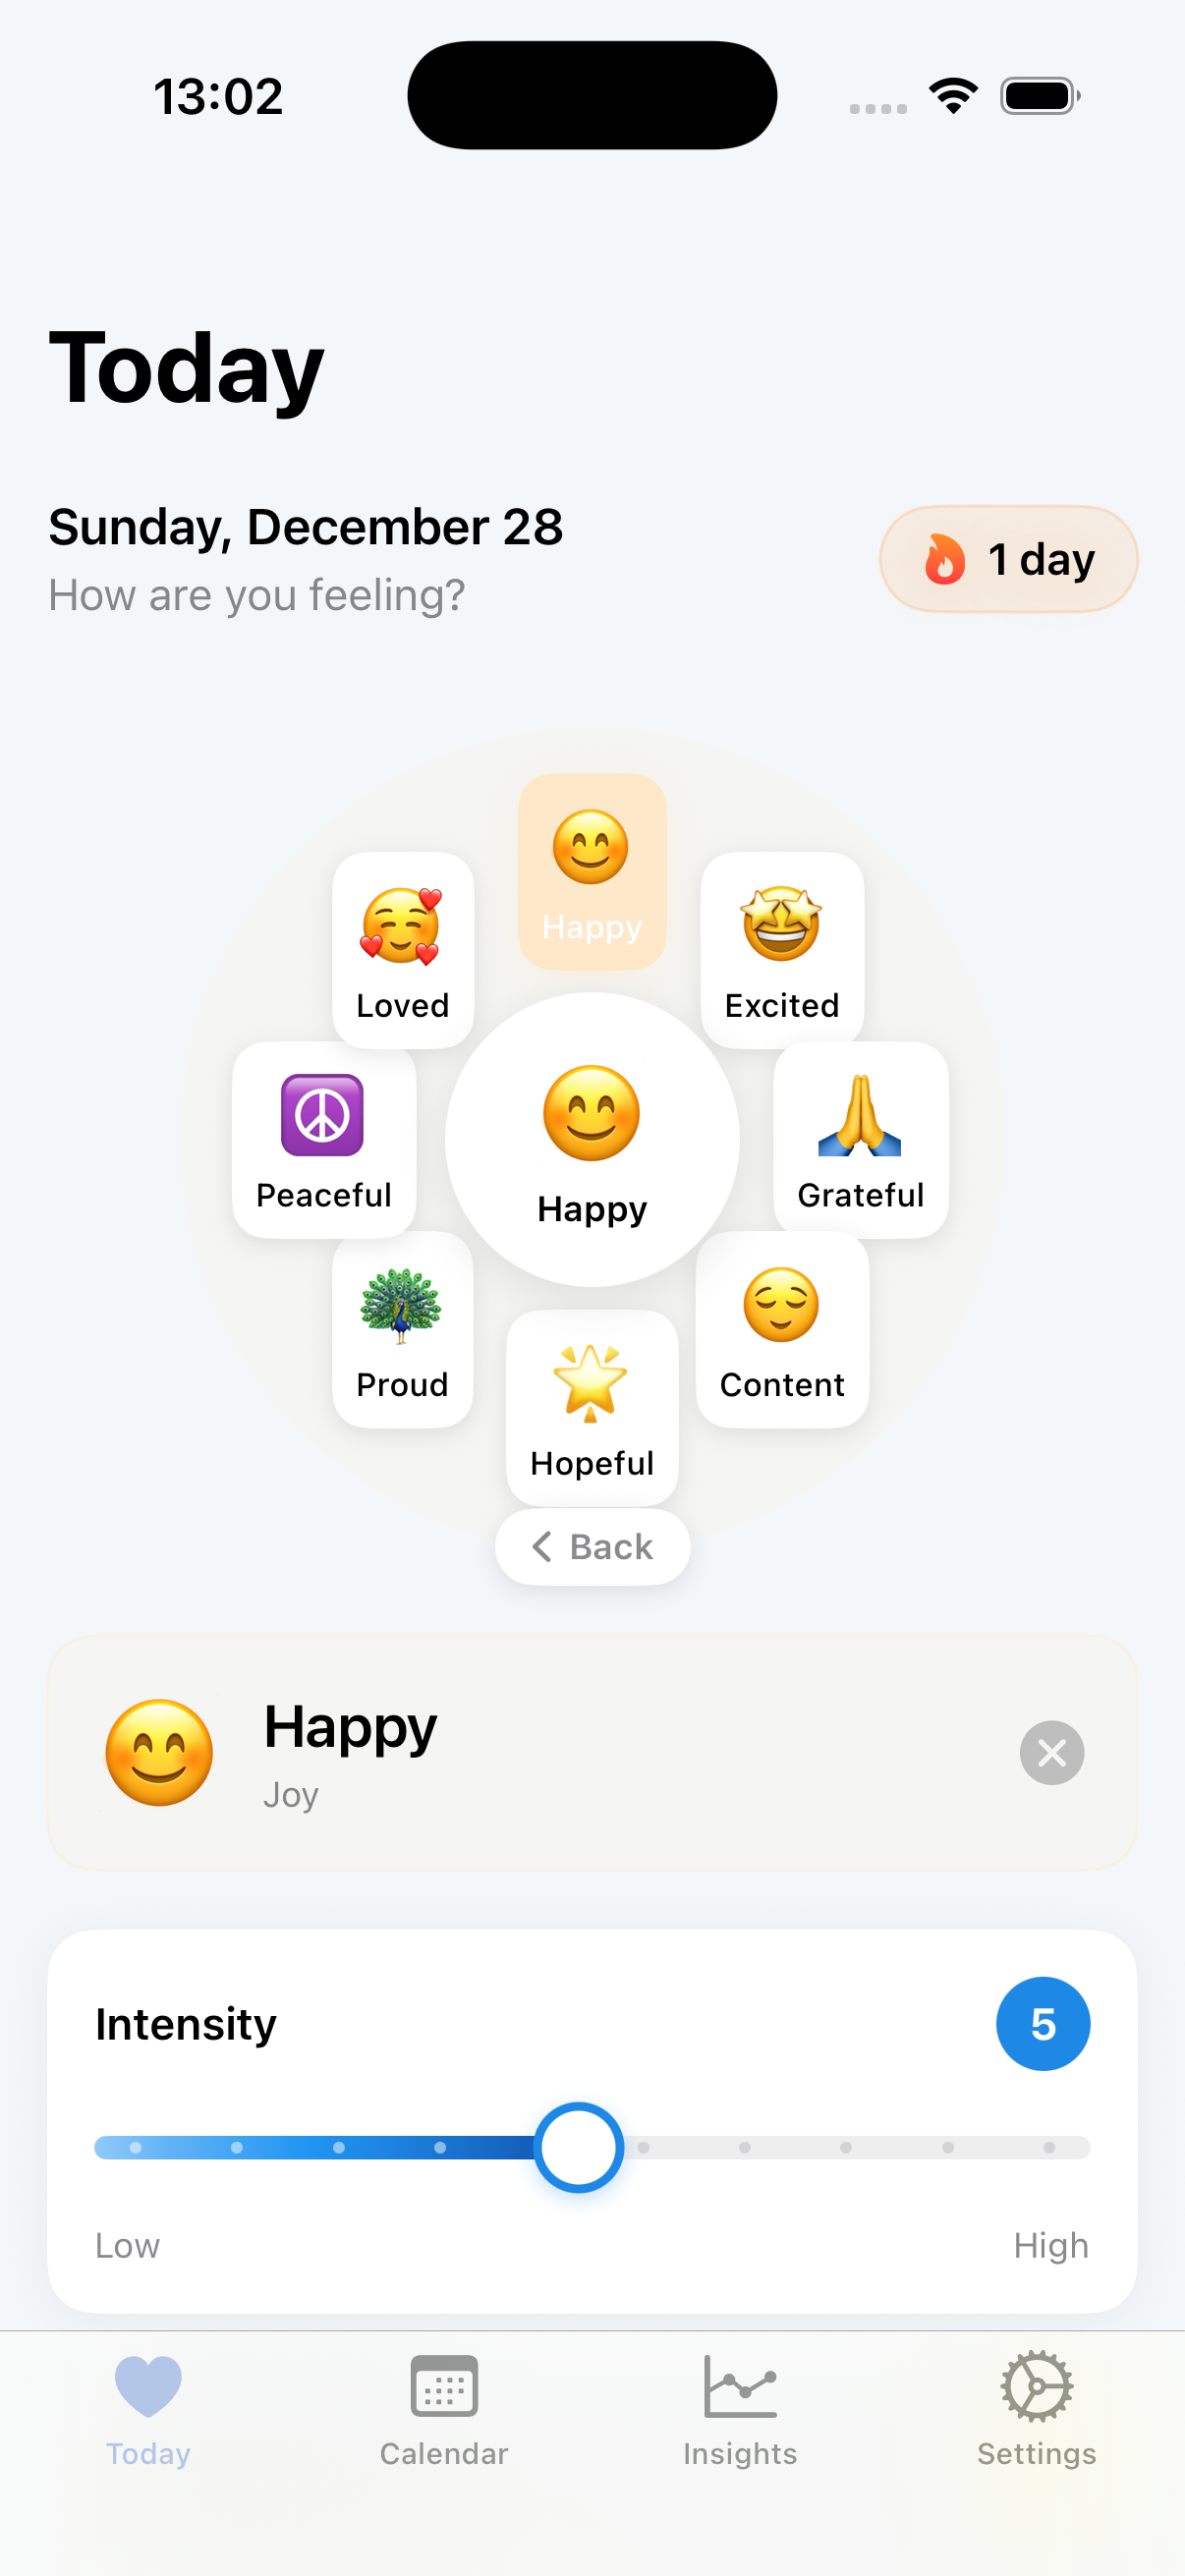
First we want to gather our screenshots so we have all our mobile screens, which are quite essential.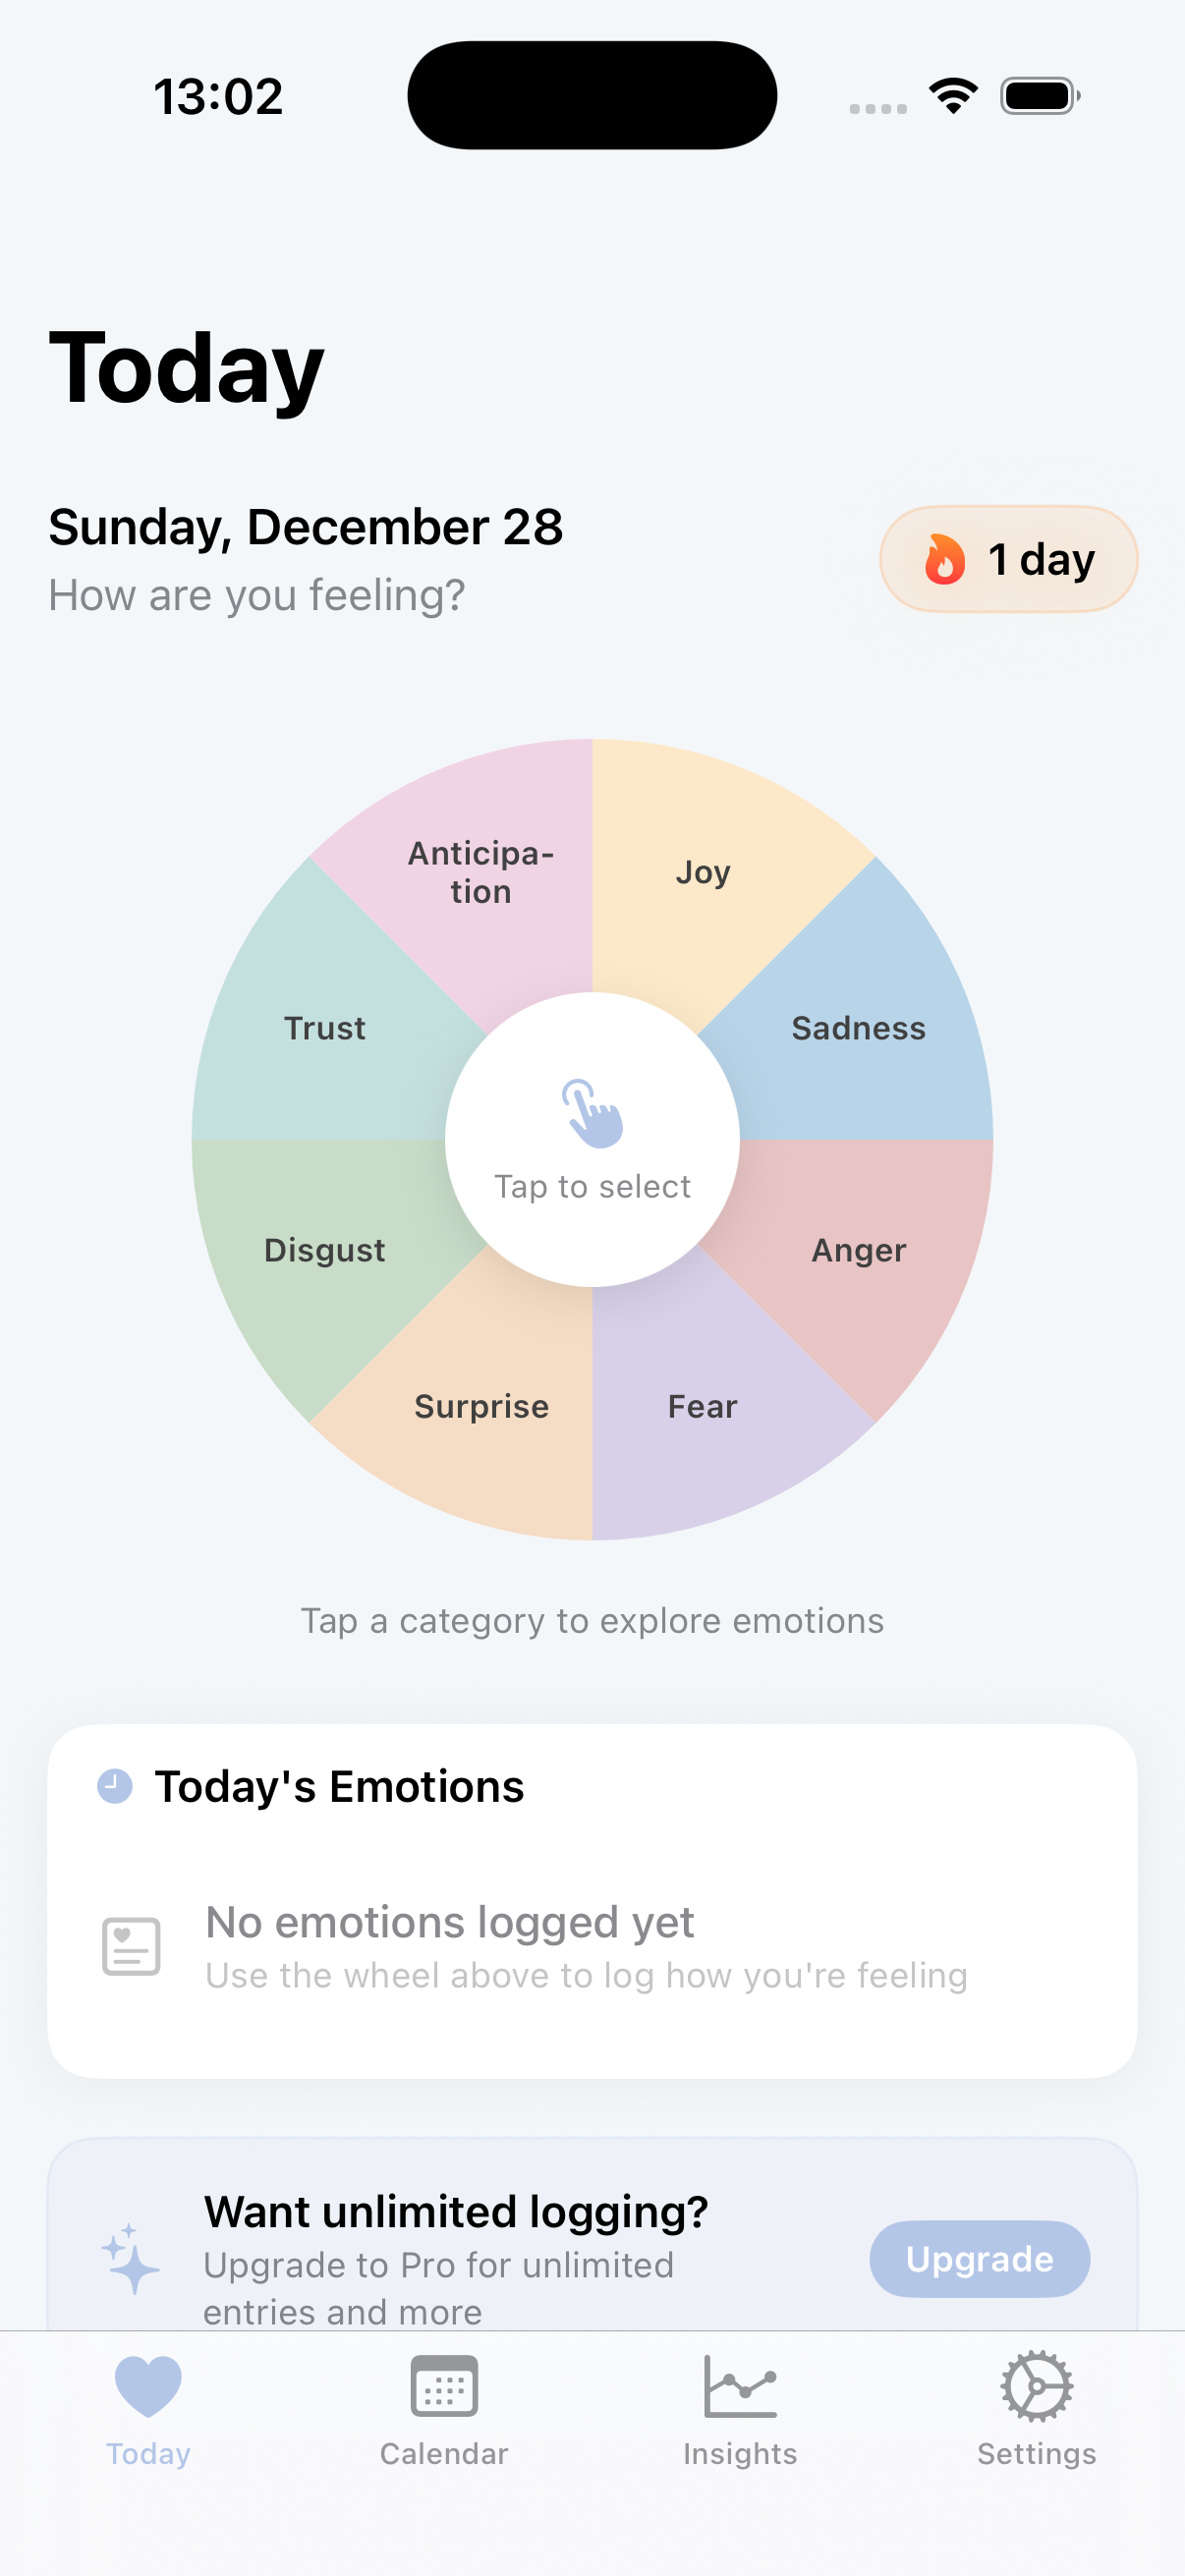


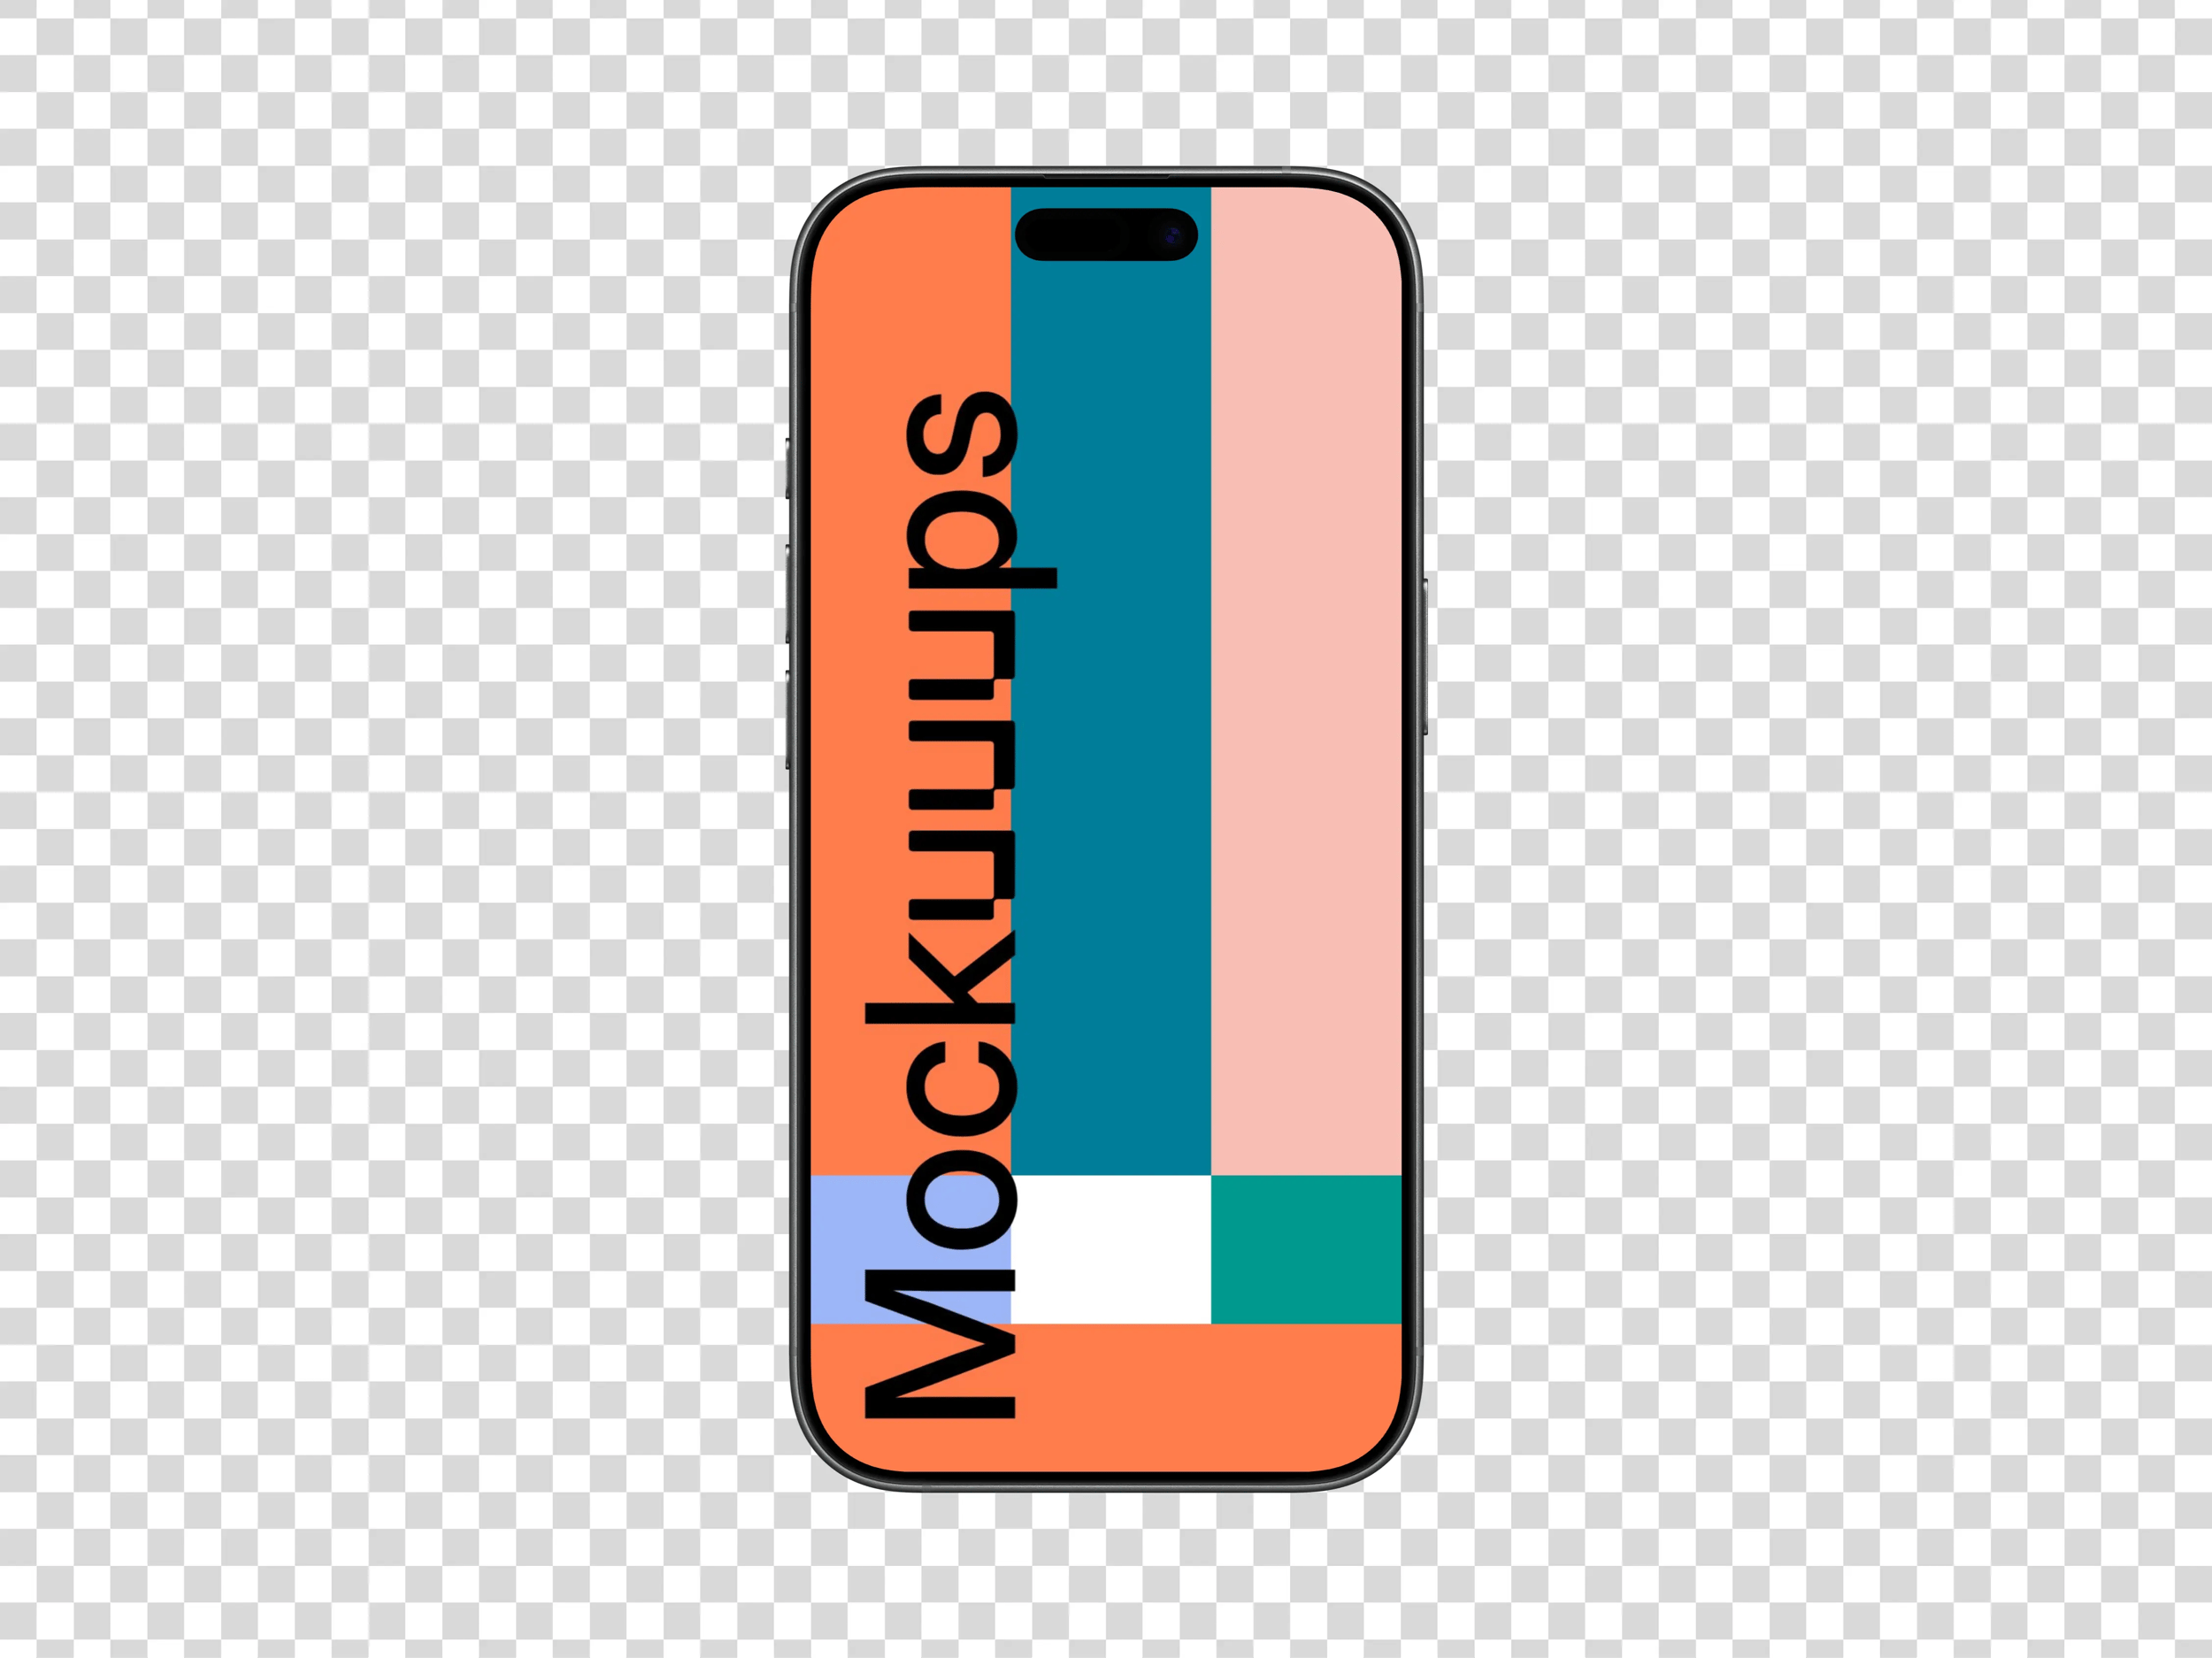
Step 2: Get a couple iPhone mock Photos
We hop on over to mockuuups.studio to grab two iPhone mock photos, I chose the slanted one and one looking right at you. Here's a great spot to play with some different angles, they have a really nice library.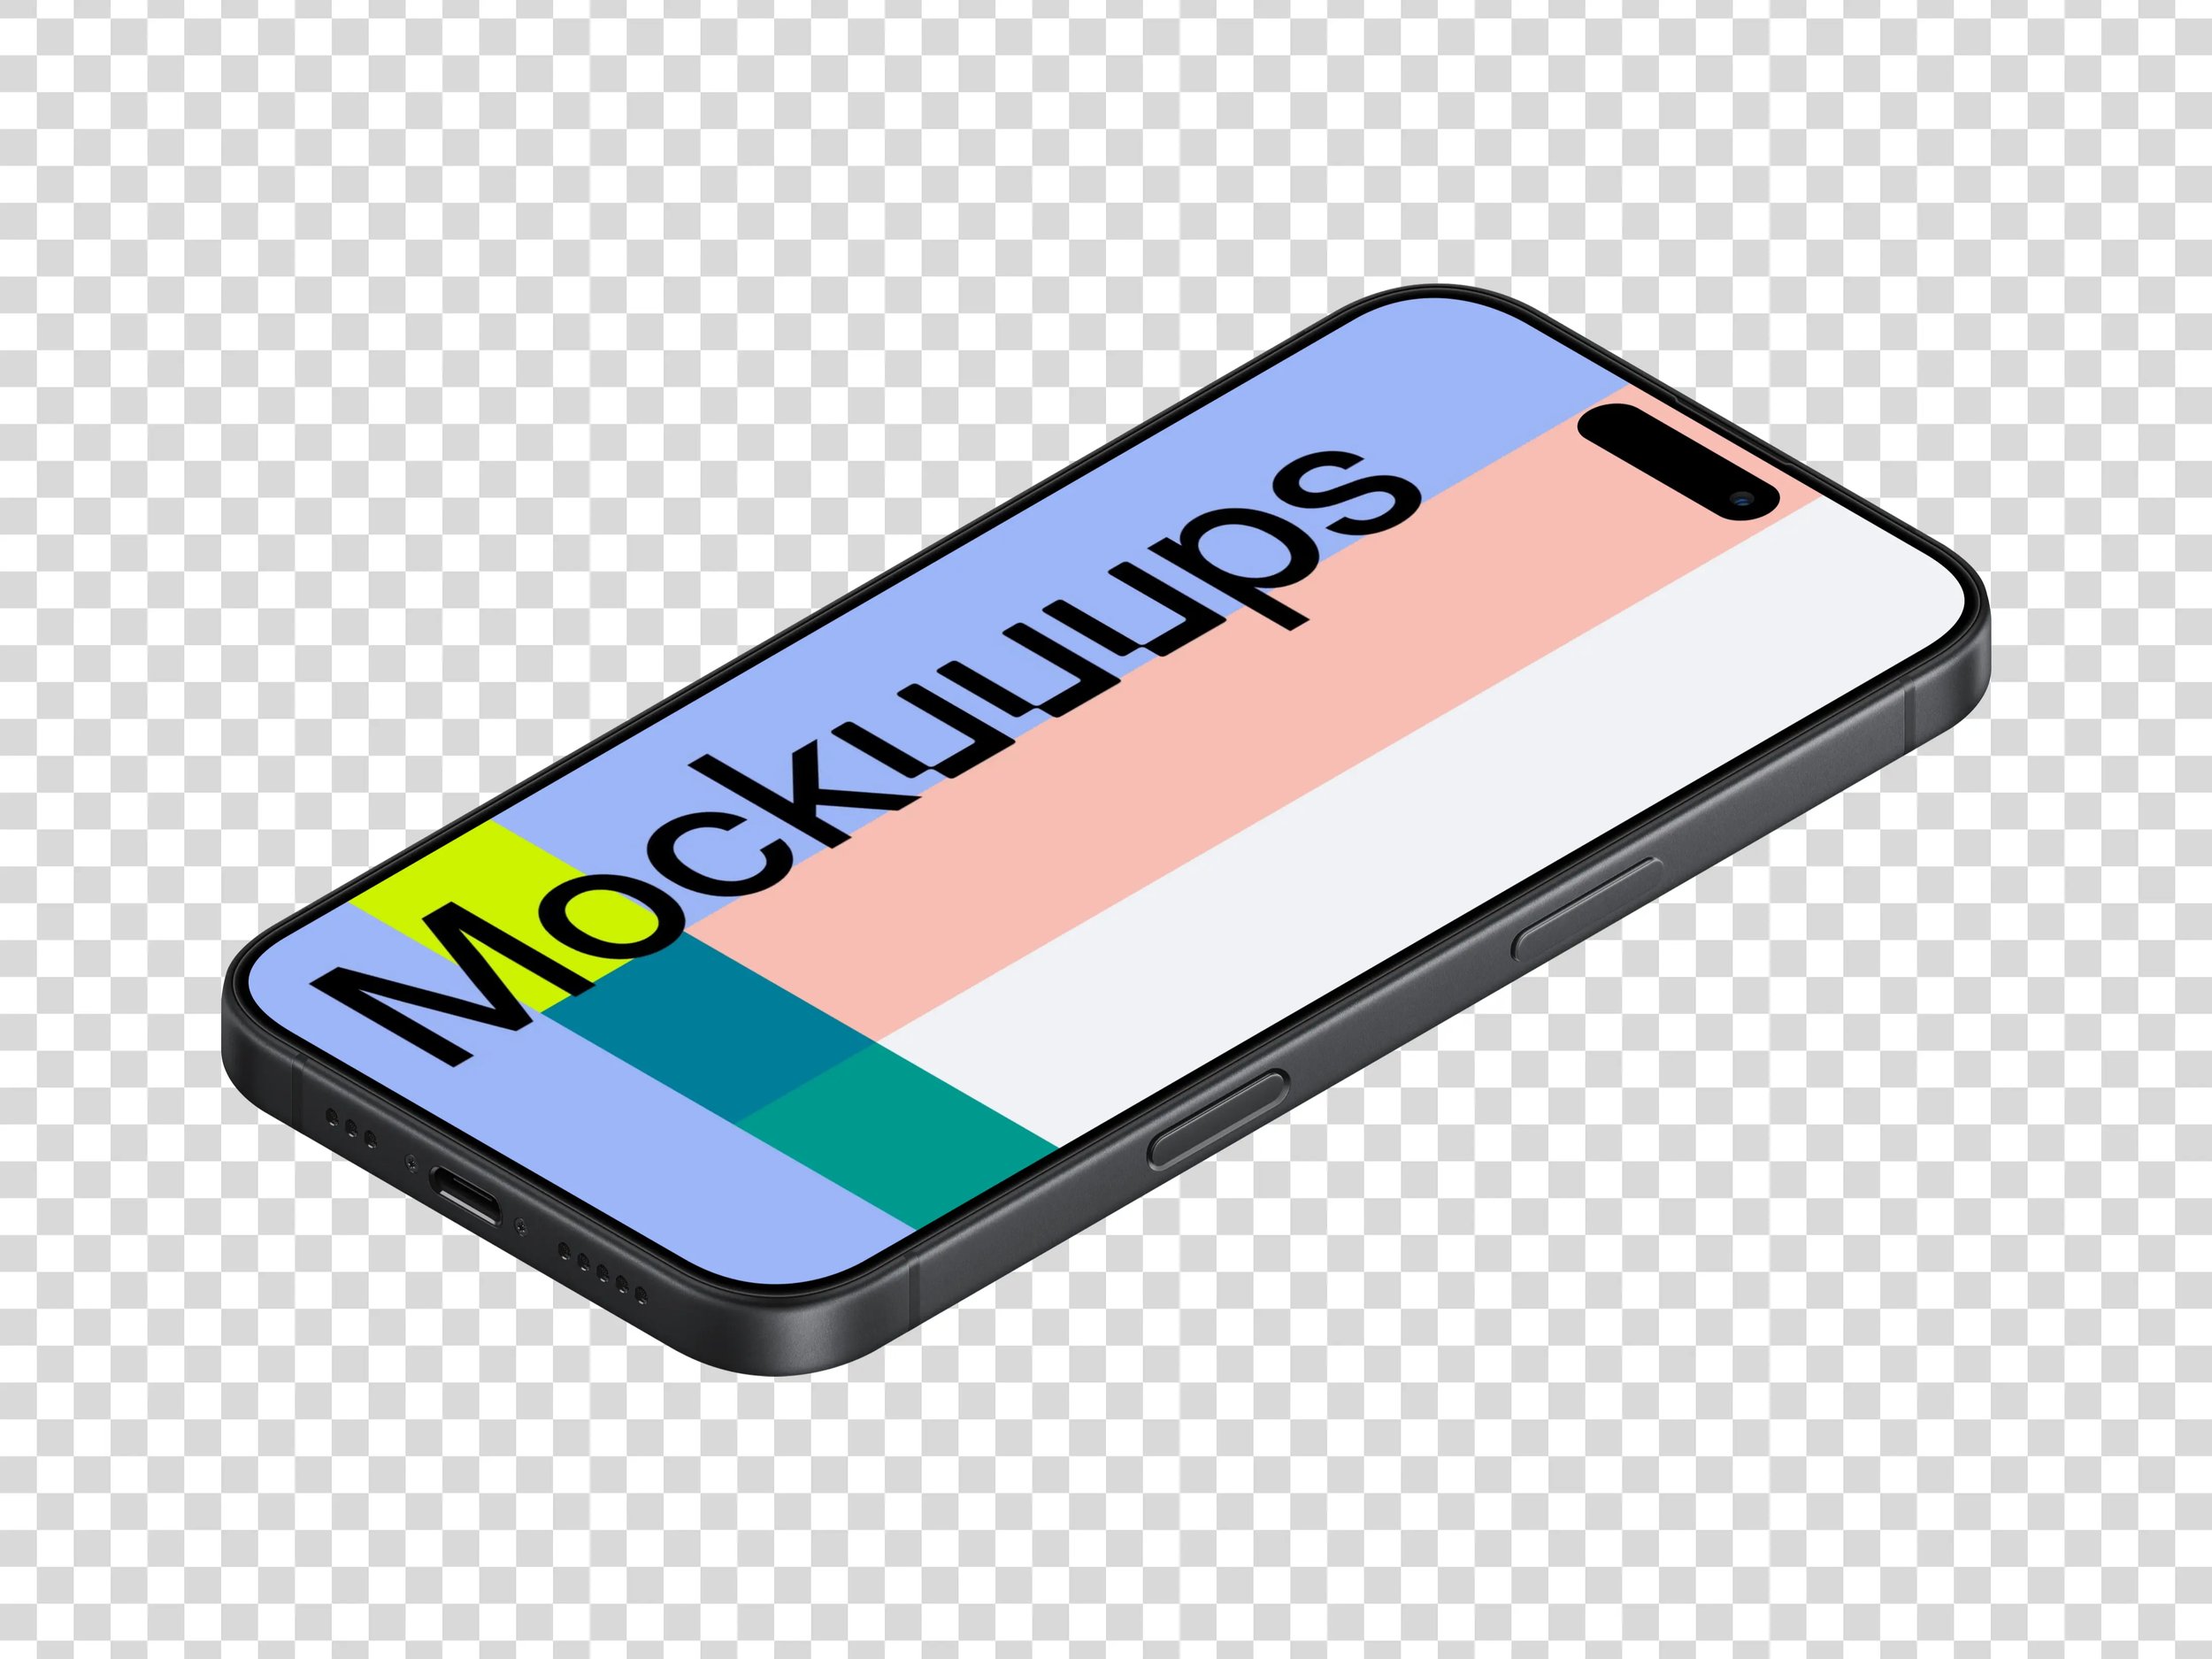
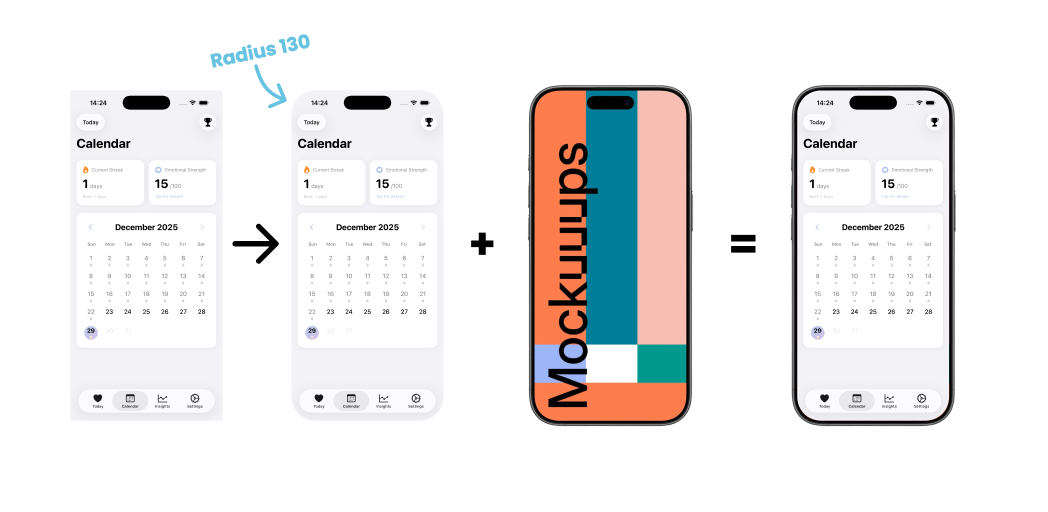
Step 3: Add screenshots to the mockuuups
I like to use photoshop to add my main screen to the slanted iphone mock, use the skew tool to get it just right!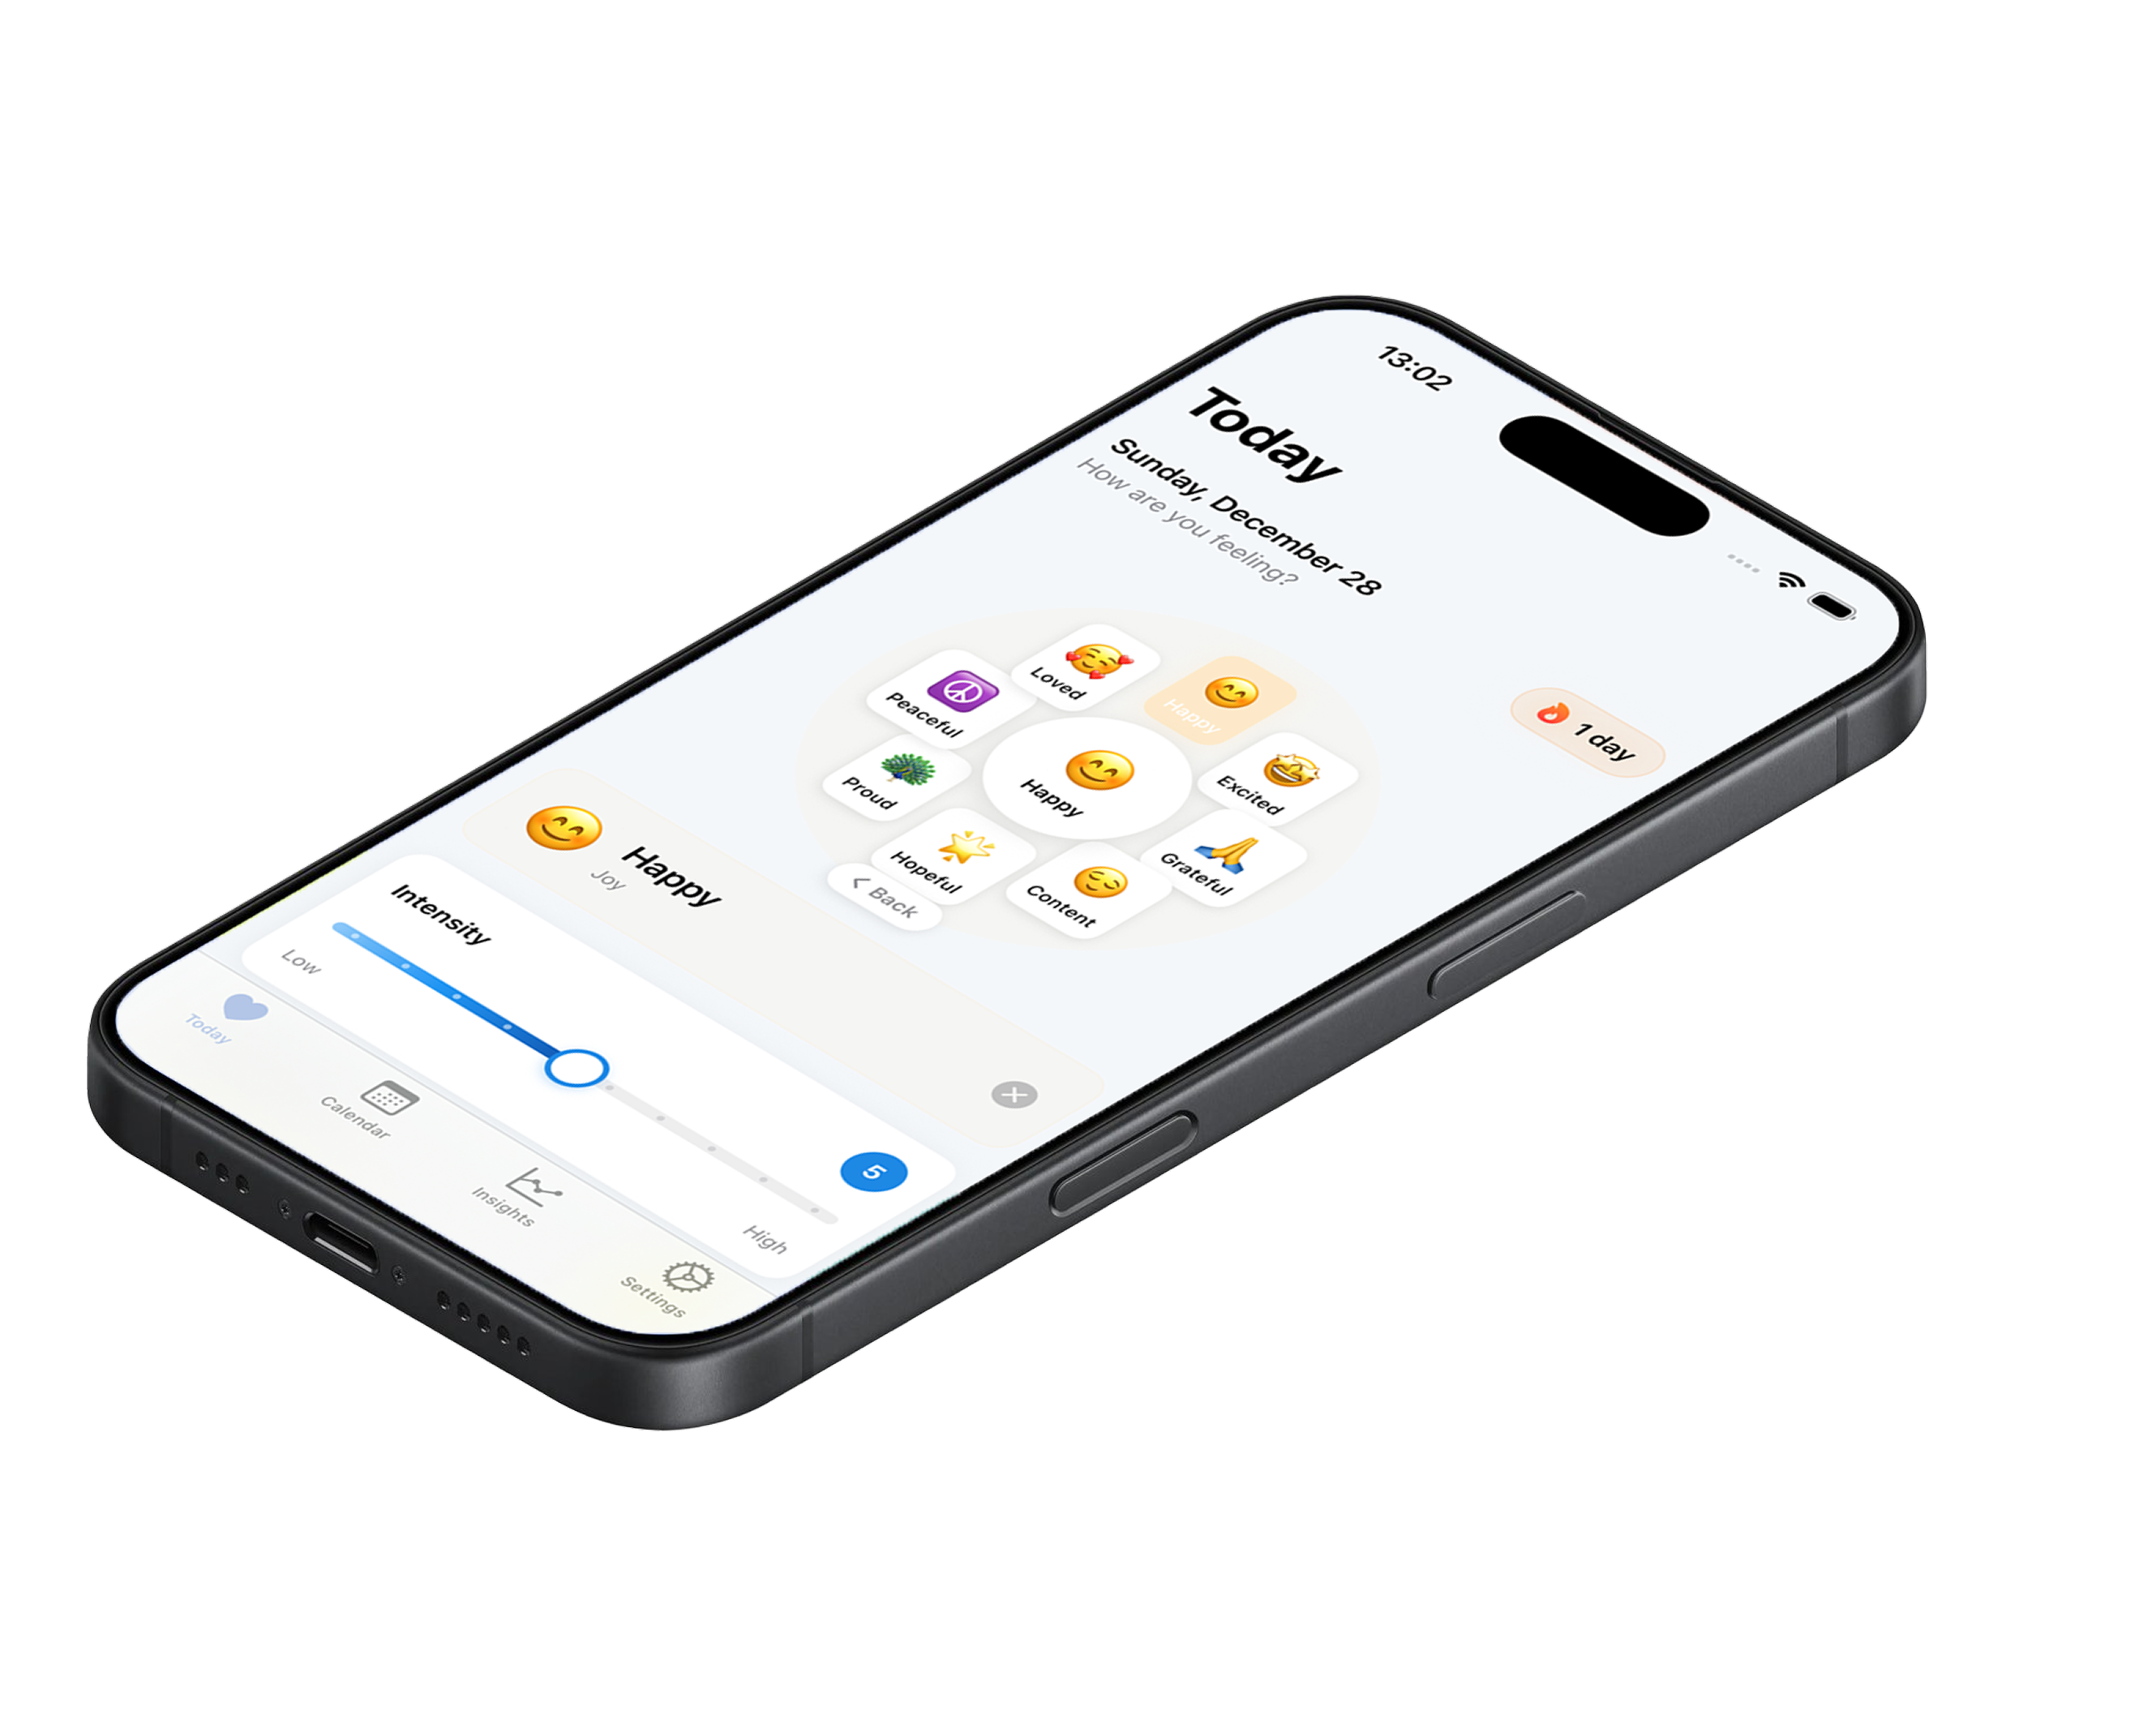
For the screenshots that don't require some tampering we can add them directly in Figma.
Step 4: Build the entire picture
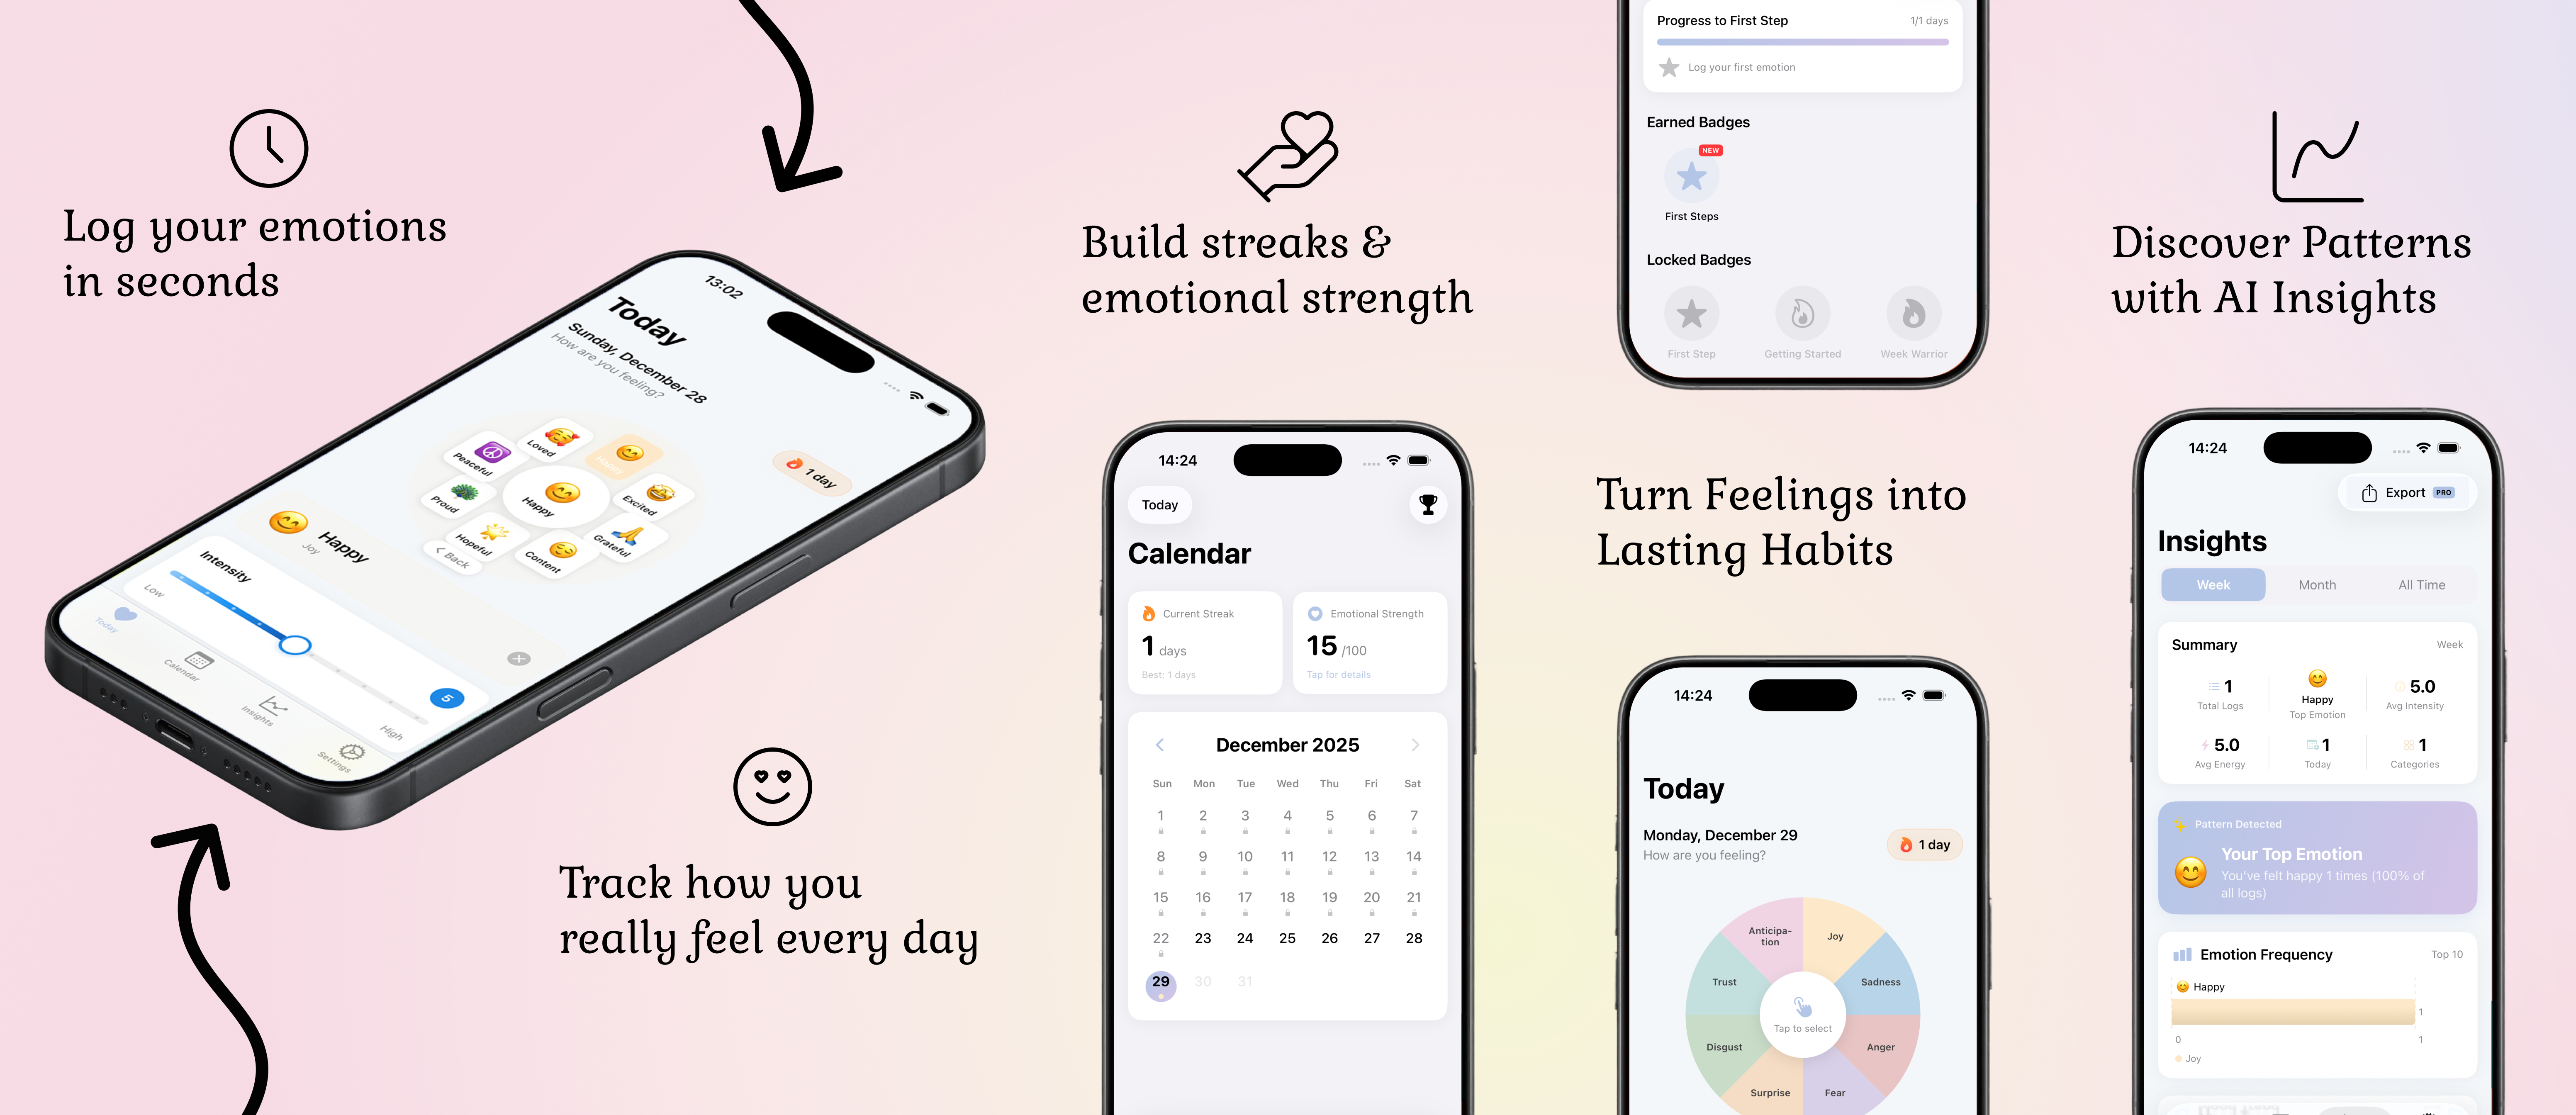
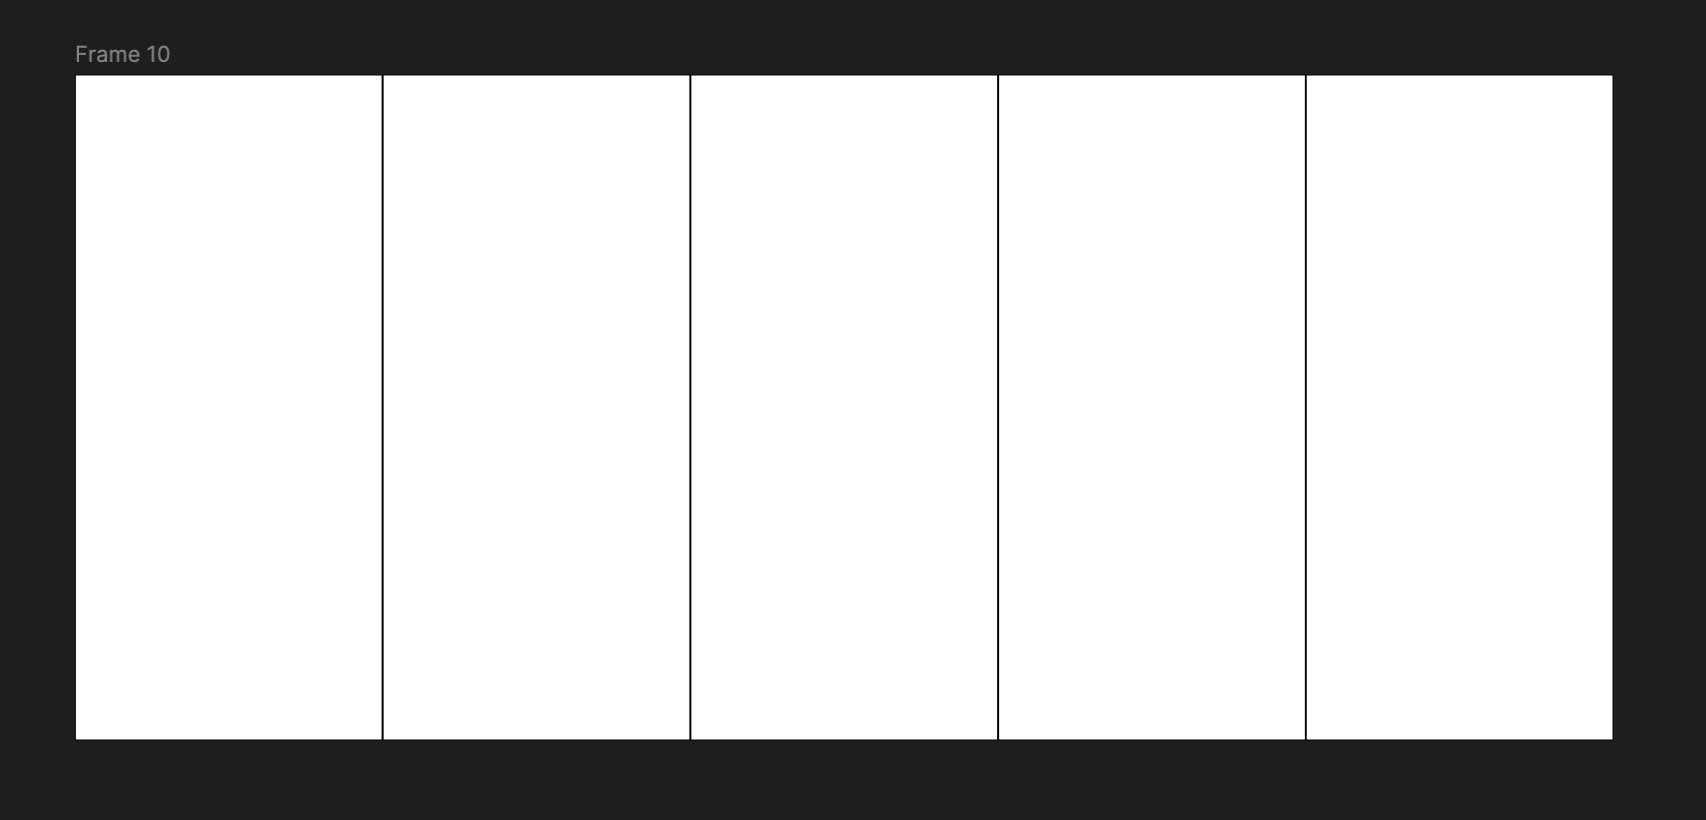
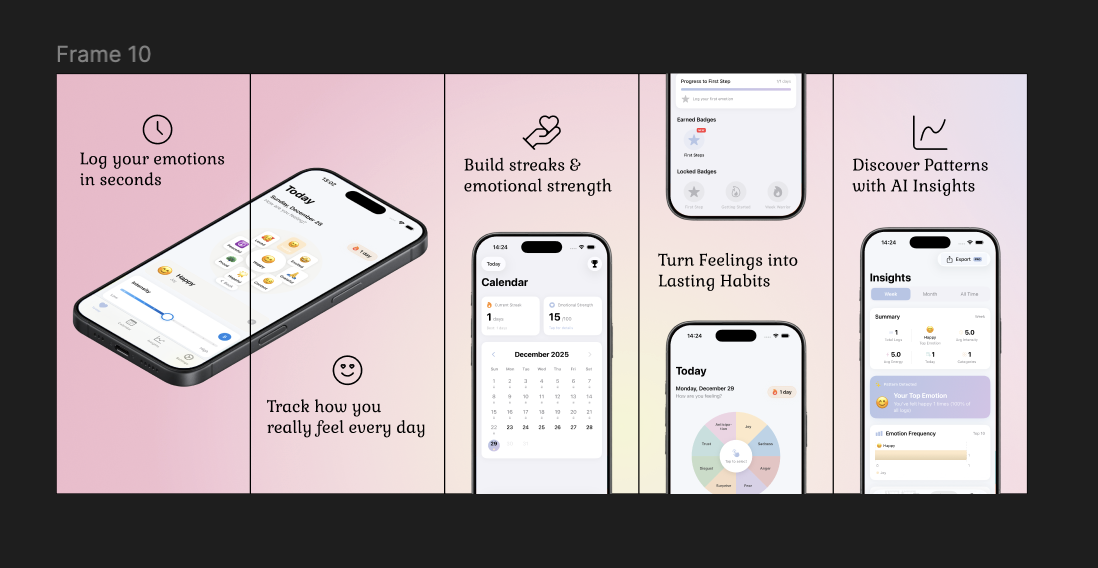
Alright, so for App Store we need every picture to be 1242x2688 pixels, we create a frame in Figma and for the width we multiply 1242 times the amount of screens we want, in this case I'm going for 5 and for height we use 2688.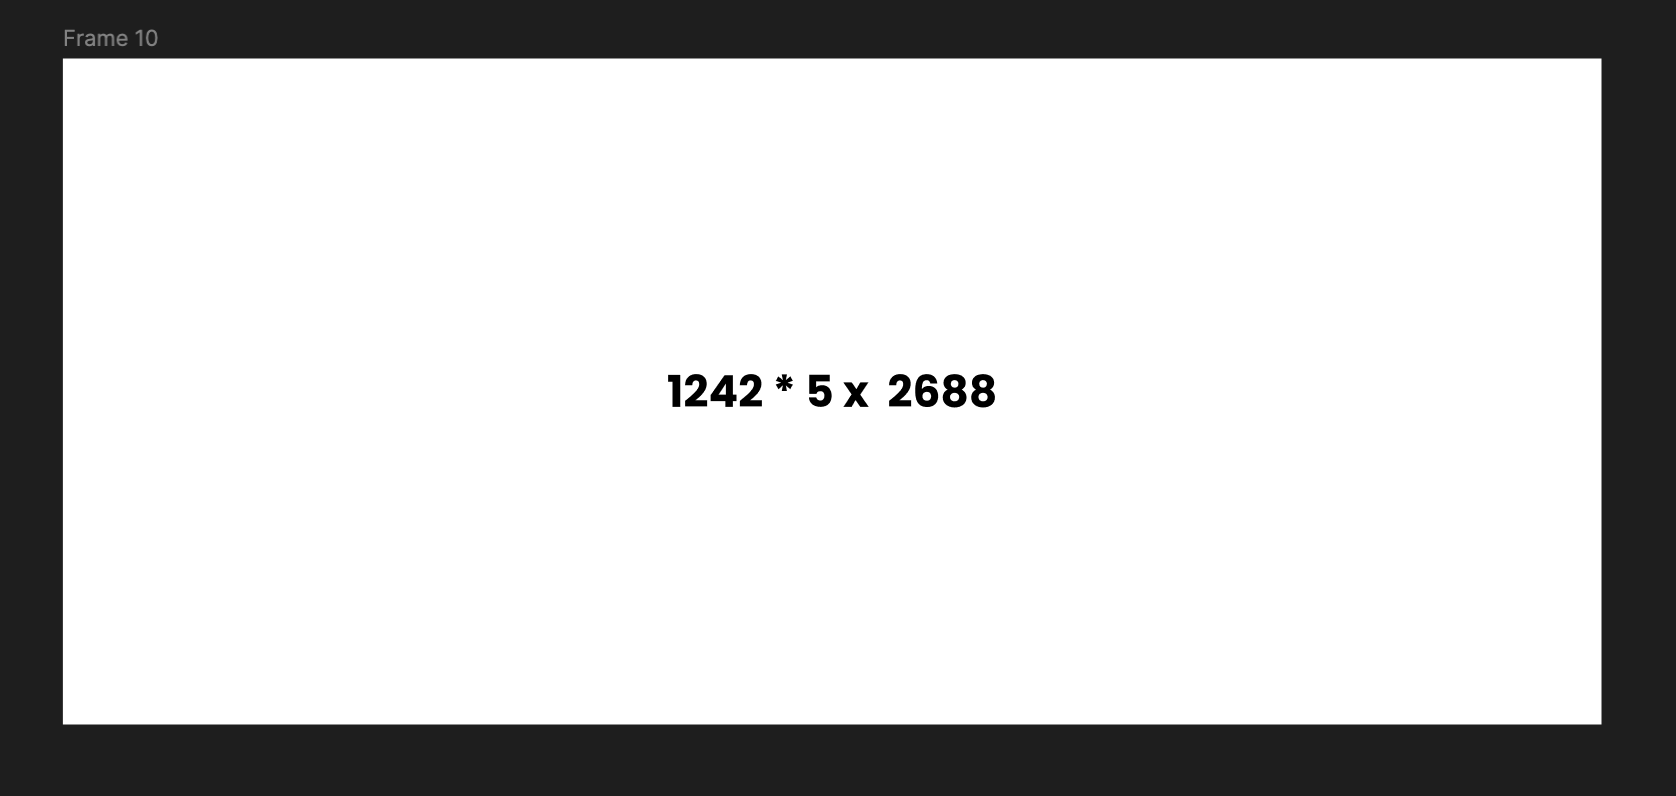
This gets us a big frame so we can put together a nice gradient background that makes the sequence feel connected.
I like to add 1242x2688px squares that mark where each picture starts and ends, remove the fill and only use borders so it doesn't block your view. Don't forget to lock them so you don't accidentally move them.
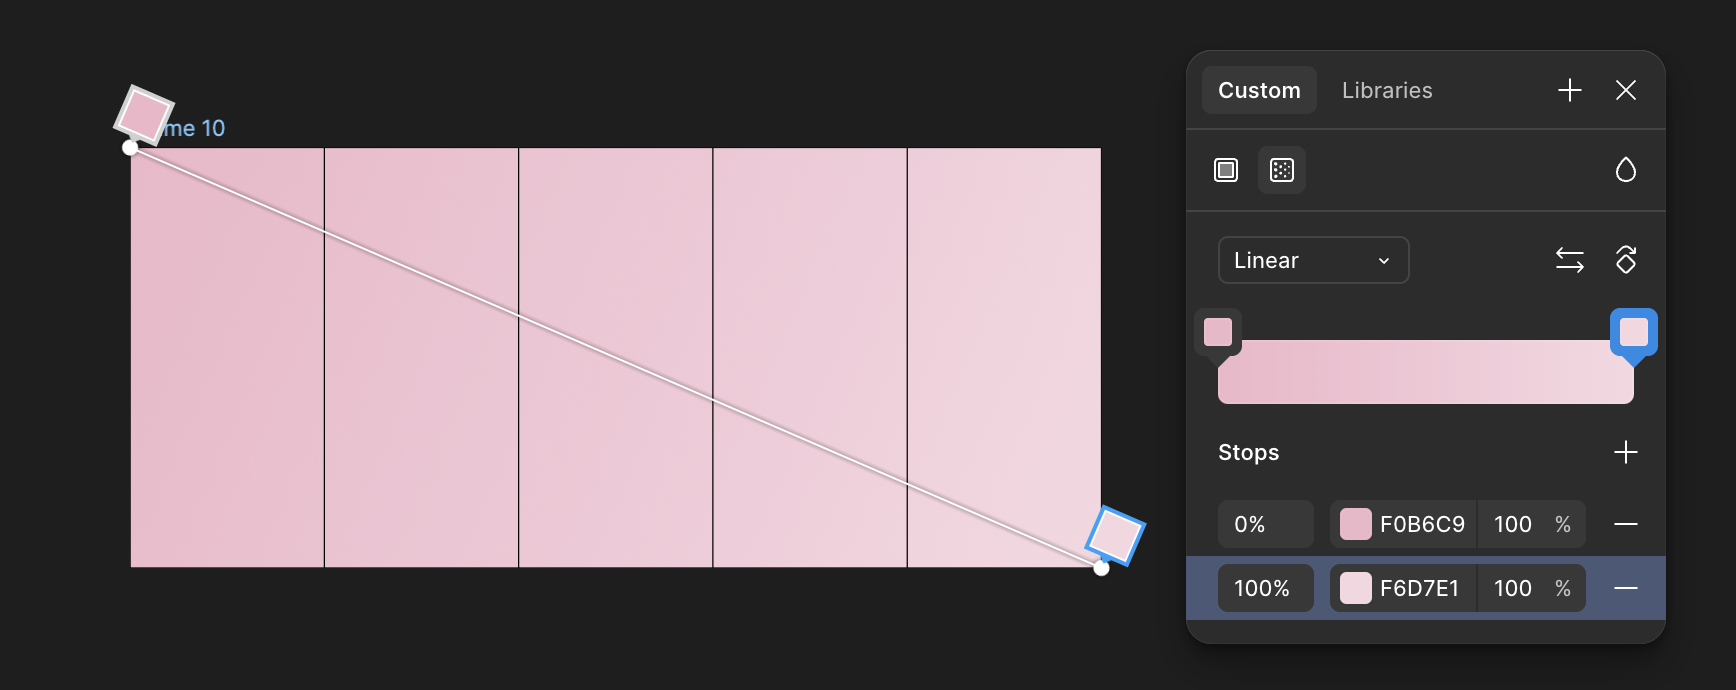
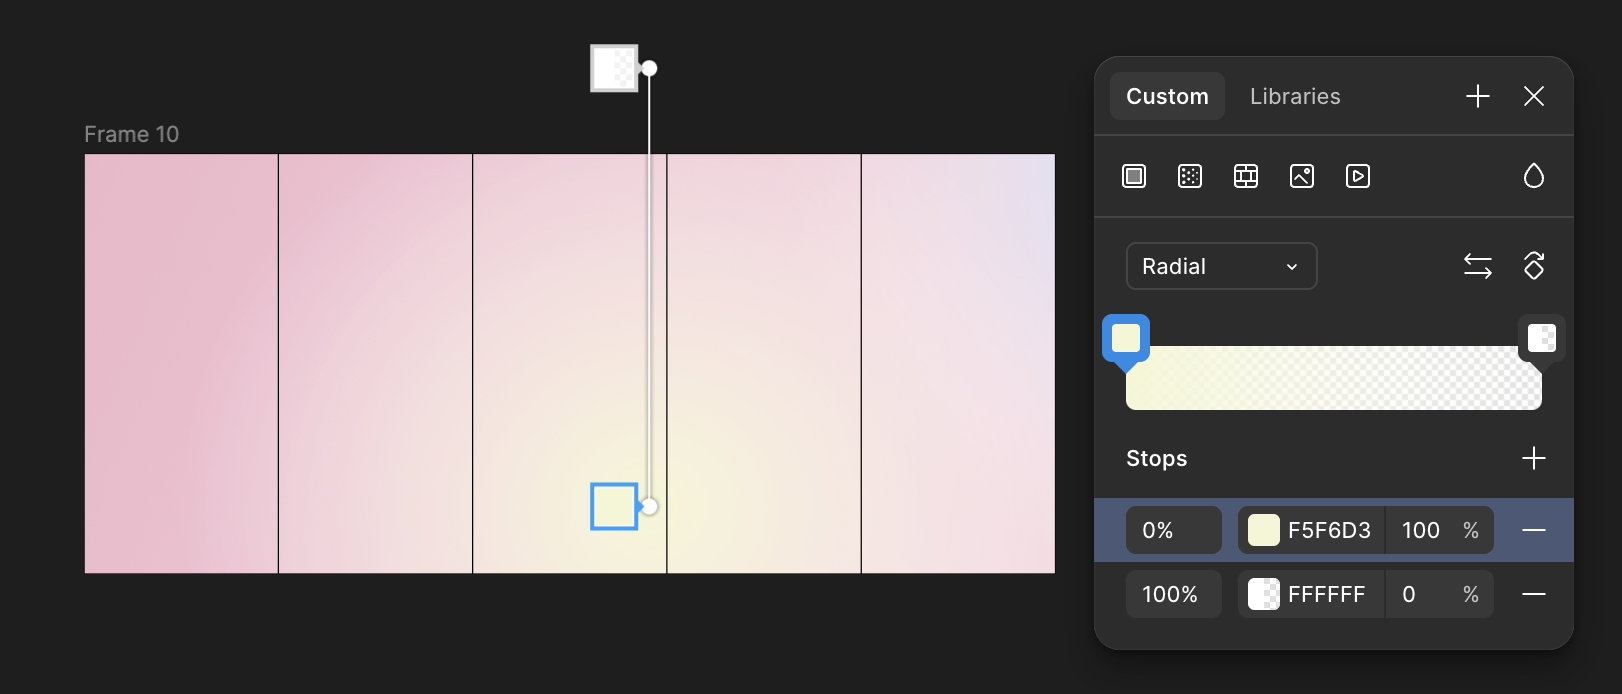
Lets add a base gradient from top left to bottom right and a couple radiant gradients to make it come alive a bit more.
Start with the slanted mock photo to the left, i like to let it go over two pictures, this seems to be the standard. Put the rest of the mocks in some order you like. I think it's nice to have a "dual" mock, with a top and bottom shot, in the middle just to break the otherwise boring sequence.
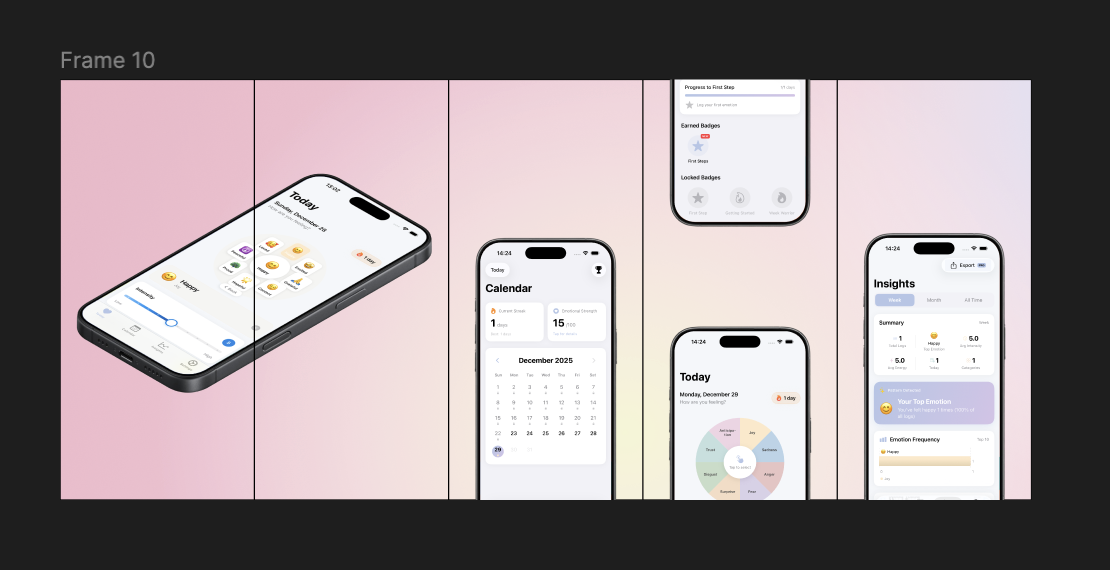
Give them all an Icon using Iconify (I like using Lucide icons, but you can use any that is MIT Licensed) and don't forget a caption/title on each screen.
Step 5: Slice the picture into screens
The best approach I've found is to export the frame as png in Figma and import it into Photoshop, there we use the slice tool to quickly be able to export each screen in the sequence.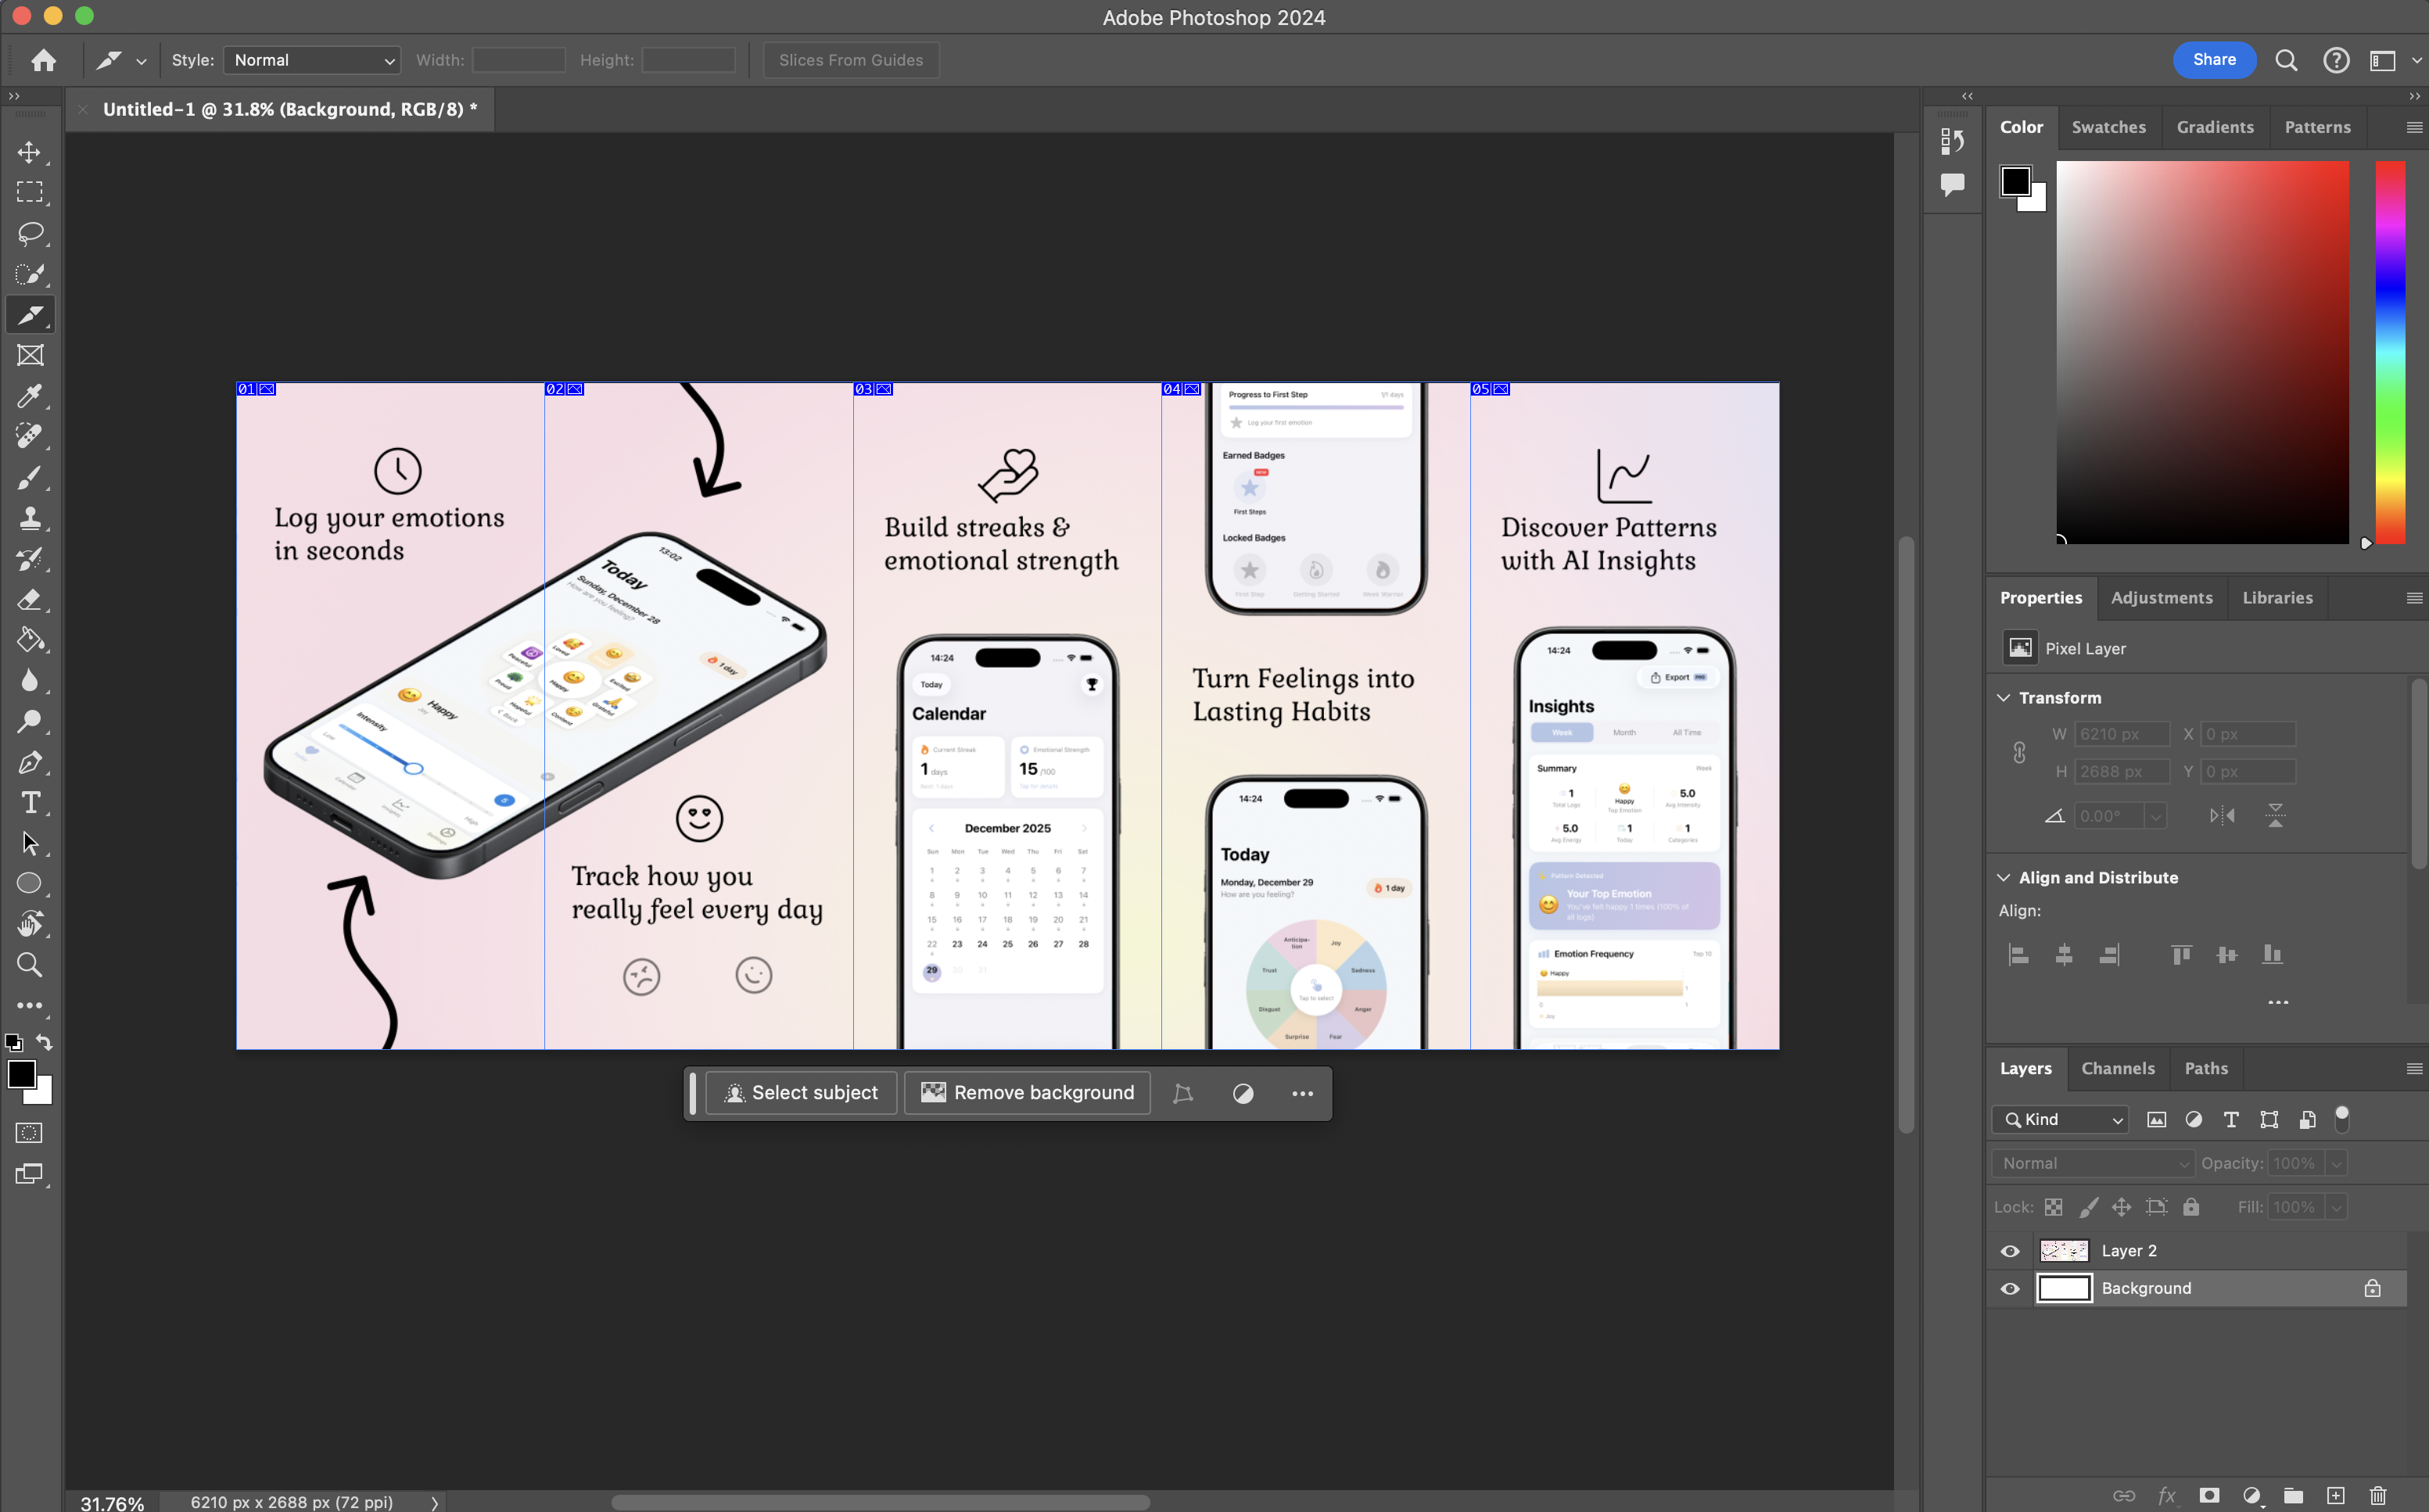
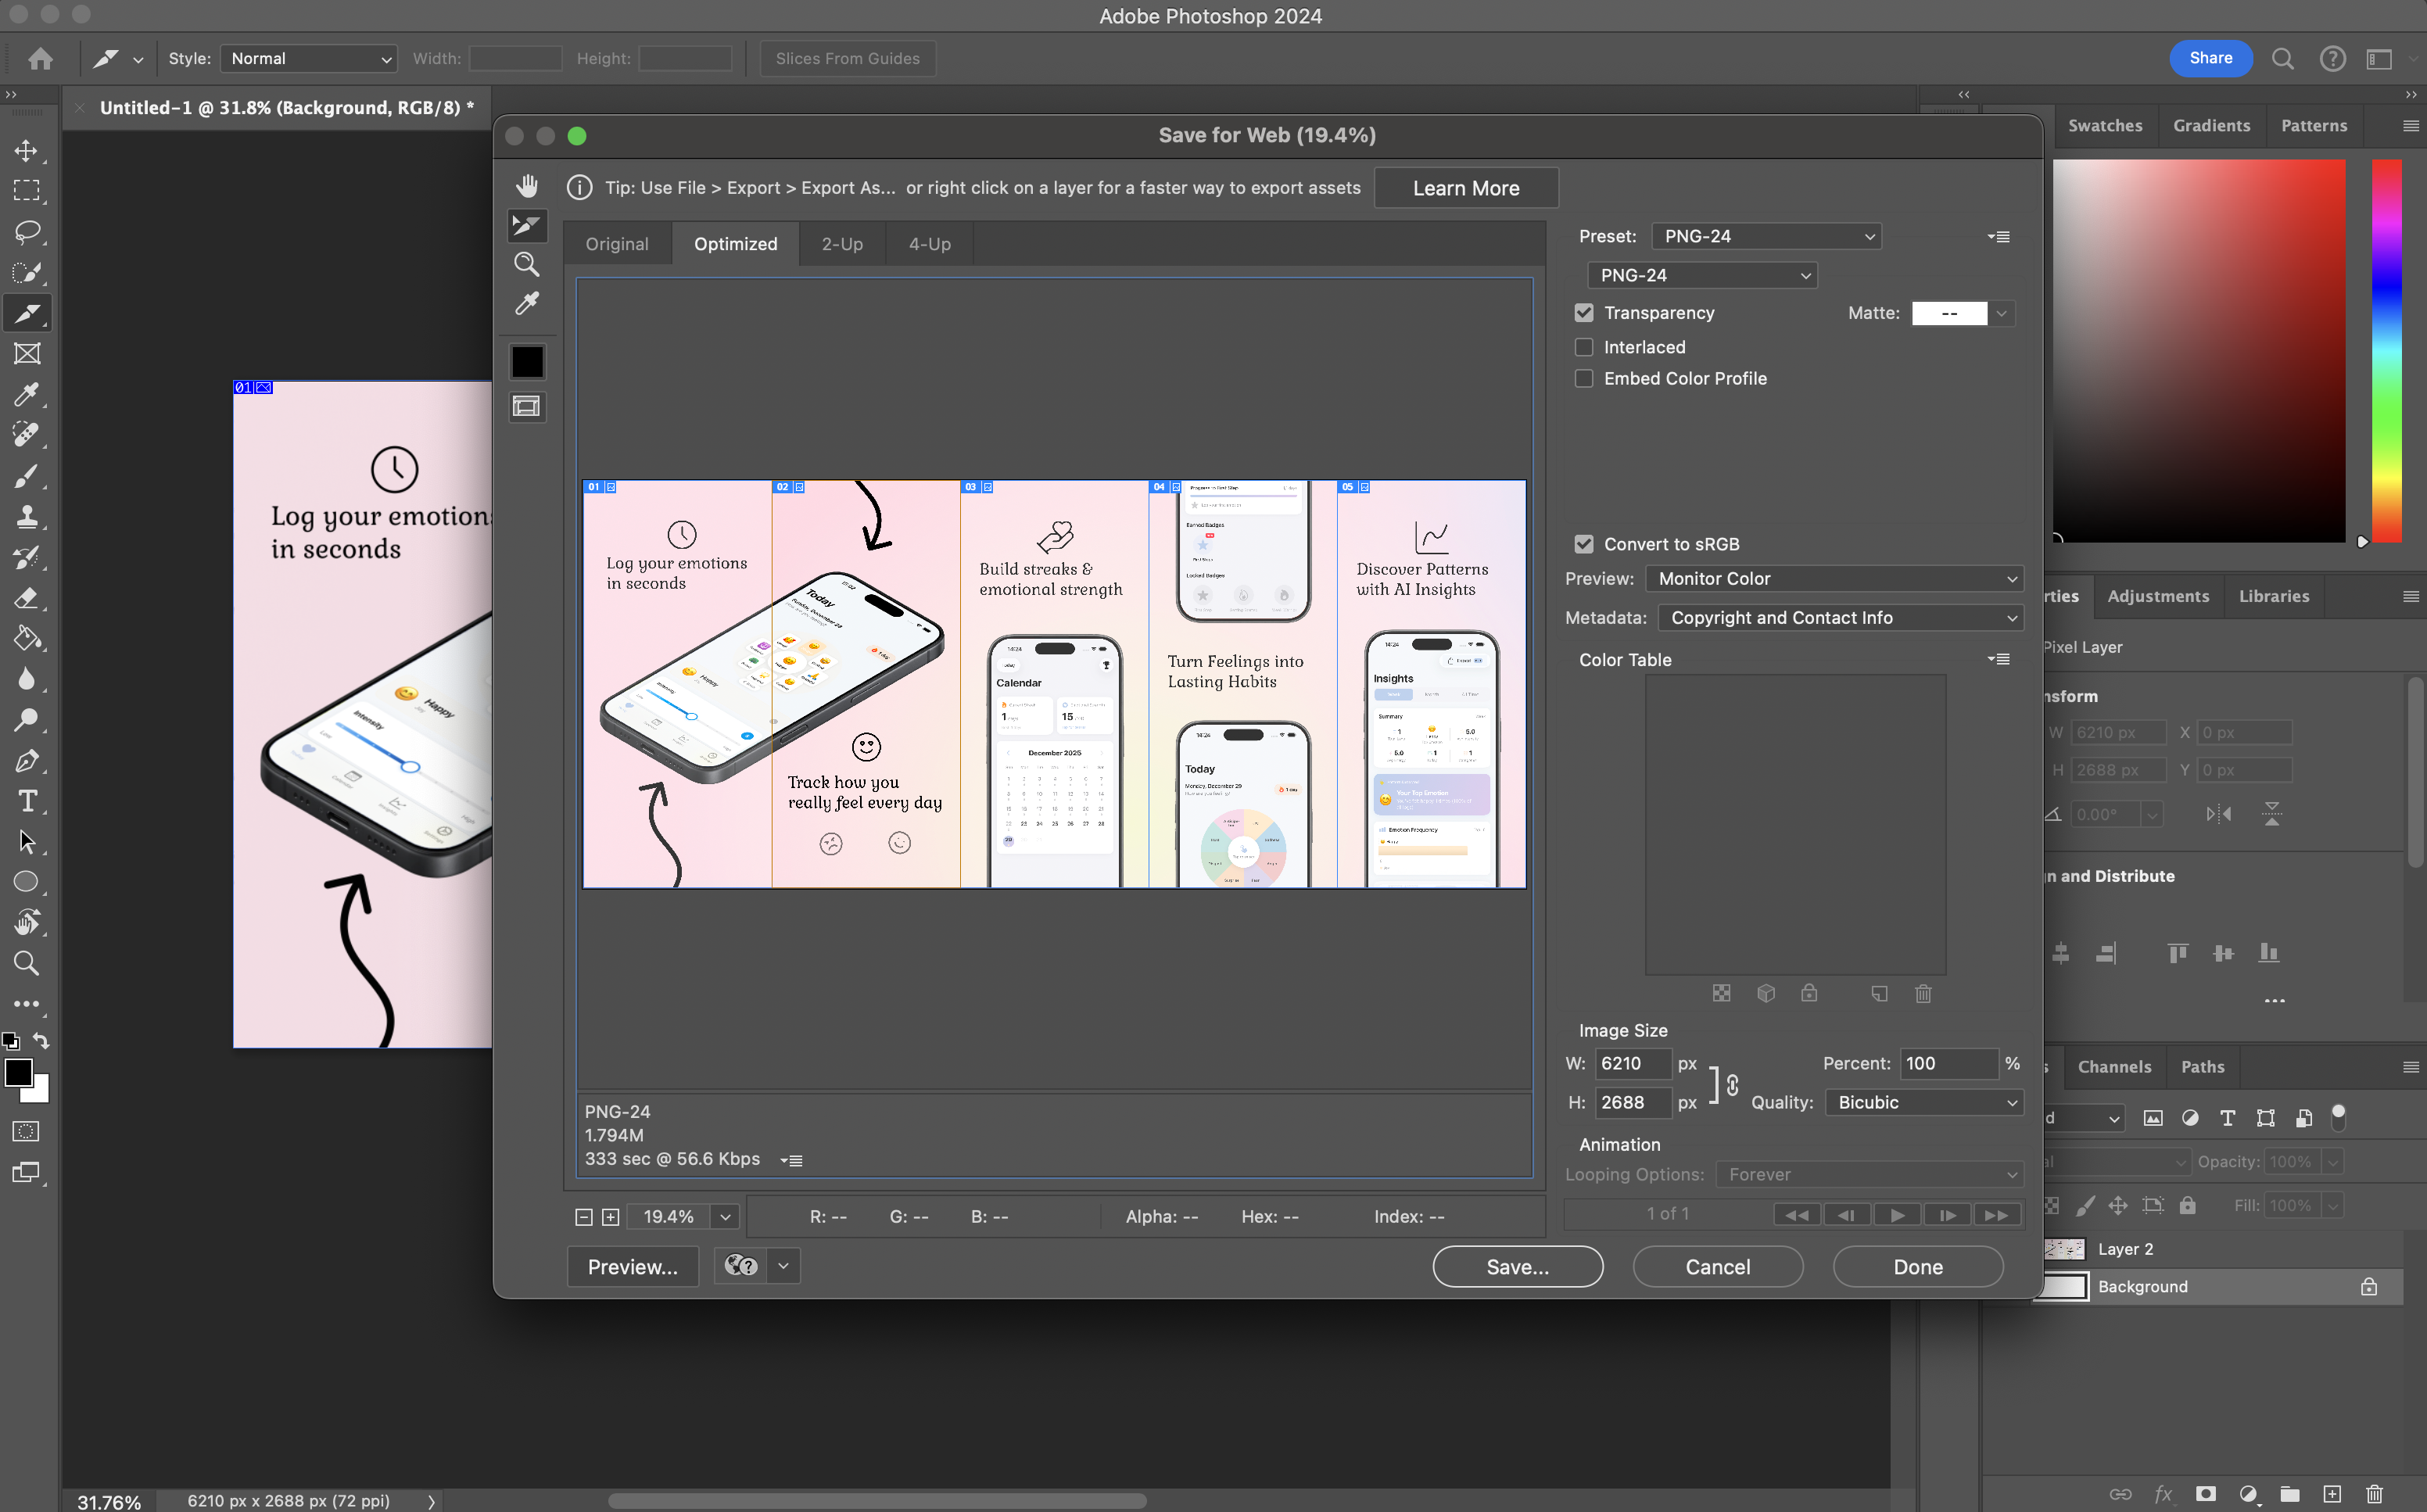
There might be better approaches and you can probably manually split them somehow in Figma, but this was a great timesaver when I needed to change small things and reslice it.
Conclusion
That's it, my 5 step approach to getting good looking screens in your App Store page.Hope you liked it! If you have any comments, please tweet me on twitter/X, link in the navigation!